
No-Bake Homemade Granola Bars Recipe: The Ultimate Snack for Everyone
Are you on the hunt for a quick, healthy, and delicious snack? Look no further! This No-Bake Homemade Granola Bars Recipe is not only easy to make, but it also packs a nutritious punch. Perfect for busy mornings, after-school snacks, or energy boosters for your afternoon slump, these granola bars are a hit with both kids and adults alike. Let’s dive into how to make these delightful treats!
Why No-Bake Granola Bars Are a Must-Try
Granola bars have surged in popularity as the go-to snack for those with busy lifestyles. They’re easy to grab, full of energy-boosting nutrients, and can be customized to suit your taste. This no-bake version makes it even simpler—you won’t waste any time preheating the oven or waiting for them to bake. Just mix, chill, and enjoy!
These bars are not just tasty; they’re also perfect for meal prep, ensuring you have a healthy snack available whenever a craving strikes. So, let’s get started with this easy granola bars recipe that you can whip up in a matter of minutes!
Ingredients
Making your own granola bars allows you to control the ingredients, so you know exactly what’s going into them. Here’s what you’ll need for your no-bake granola bars:
Base Ingredients
- 2 cups rolled oats
- 1 cup nut butter (peanut butter, almond butter, or sunflower seed butter)
- 1/2 cup honey or maple syrup
- 1/2 teaspoon salt
- 1 teaspoon vanilla extract
Add-Ins (Optional)
- 1/2 cup chocolate chips (dark or milk)
- 1/2 cup dried fruit (raisins, cranberries, or apricots)
- 1/4 cup nuts or seeds (almonds, walnuts, sunflower seeds)
- 1/2 teaspoon cinnamon for extra flavor
Instructions
Ready to learn how to make these delectable bars? Follow these simple steps, and you’ll have homemade granola bars ready to enjoy in no time:
Step 1: Prepare Your Dish
Start by lining an 8×8 inch baking dish with parchment paper. This will prevent the bars from sticking and make for easy removal later.
Step 2: Mix the Base
In a large mixing bowl, combine the rolled oats, nut butter, honey (or maple syrup), salt, and vanilla extract. Mix well until everything is thoroughly combined and sticky.
Step 3: Add Your Favorite Mix-Ins
Now, it’s time to personalize your bars! Stir in your choice of chocolate chips, dried fruit, nuts, or any other mix-ins you prefer. Make sure they are evenly distributed throughout the mixture.
Step 4: Press and Chill
Transfer the mixture into the lined baking dish, pressing it down firmly with the back of a spatula or your hands. The firmer you pack it, the better the bars will hold together. Refrigerate for at least 2 hours, or until set.
Step 5: Slice and Enjoy
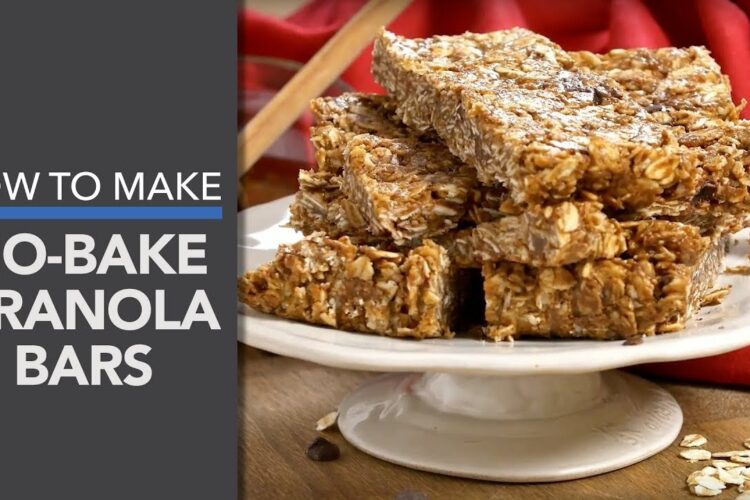
Once chilled, remove the slab of granola bars from the pan and cut them into your desired size—whether that’s bite-sized squares or chewy rectangles! Store any leftovers in an airtight container in the fridge, where they will stay fresh for a week.
Tips & Variations
To make sure you create the best no-bake granola bars, consider the following tips:
- Sweetness: For a sweeter bar, feel free to add a bit of brown sugar or more honey/maple syrup.
- Flavor Boost: If you love cinnamon, adding 1/2 teaspoon can elevate the flavor.
- Nut-Free Option: Substitute nut butter with sunflower seed butter for a nut-free version.
- Nut-Free Bars: Simply use seeds or dried fruits as add-ins instead of nuts.
Feel free to mix and match ingredients based on your preferences—this recipe is super versatile!
Final Thoughts
With just a handful of ingredients and a few simple steps, these No-Bake Homemade Granola Bars are a fantastic way to satisfy your cravings while keeping things healthy. They’re perfect for meal prep, on-the-go snacks, or a wholesome treat after meals.
So why not give this easy granola bars recipe a try? Your taste buds will thank you! Try it and let us know how it turned out—share your creations in the comments below! Happy snacking!