
Cottage Cheese Pizza Crust Recipe
Transform your pizza nights with this incredible Cottage Cheese Pizza Crust! Packed with protein, this crust is crispy on the outside, soft on the inside, and is perfect for loading up with your favorite toppings. Plus, it’s quick and easy to make right at home!
❤️ Why You’ll Love This Recipe
- Protein-Packed: Cottage cheese and egg give this crust lasting energy.
- Quick Prep: From start to oven in just minutes.
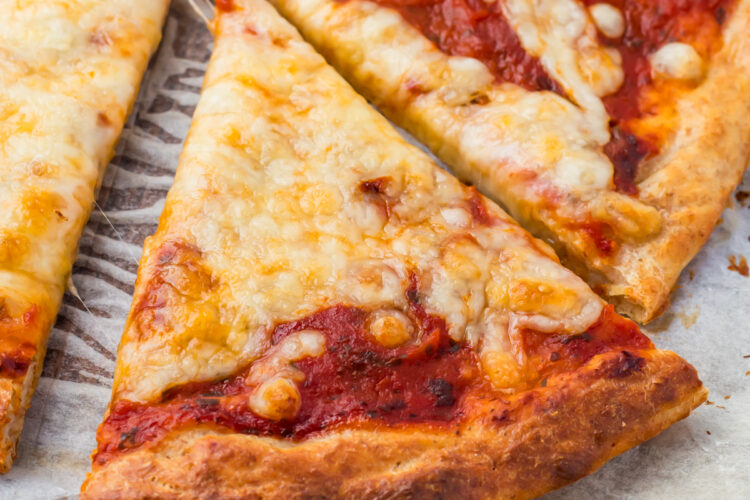
- Delicious Texture: Crispy edges with a chewy center—just what pizza should be.
- Customizable: Top it with any of your favorite ingredients.
- Light Yet Satisfying: Enjoy the indulgence without the heavy feeling afterward.
🗝️ Key Ingredients & Substitutions
Ingredients:
- ¾ cup cottage cheese (blended)
- 1 egg
- ⅓ cup whole wheat flour
- ½ teaspoon baking powder
- ½ teaspoon salt
Optional Toppings:
- Sauce: tomato sauce, pesto, or BBQ
- Cheese: mozzarella, cheddar, or blue cheese
- Meat: pepperoni, chicken, or sausage
- Vegetables: bell peppers, onions, or olives
🥣 How to Make Cottage Cheese Pizza Crust
- Preheat the Oven:
- Preheat it to 450°F and line a baking sheet with parchment paper.
- Blend the Cottage Cheese:
- Use a blender or food processor until smooth and creamy.
- Mix the Batter:
- In a medium bowl, combine blended cottage cheese, egg, flour, baking powder, and salt until well mixed.
- Shape the Crust:
- Pour the batter onto the parchment paper, using a rubber spatula to spread it out evenly into a circular shape (about ¼ inch thick).
- Bake the Crust:
- Bake in the oven for 13 to 15 minutes until edges are golden brown.
- Prepare Your Toppings:
- While the crust bakes, prepare your pizza sauce, cheese, and desired toppings.
- Add Toppings:
- Once the crust is ready, spread on the sauce, add veggies or meat, and top with shredded cheese.
- Final Bake:
- Return to the oven for another 7 to 10 minutes until cheese is melted and bubbly.
- Cool and Slice:
- Allow to cool for a few minutes before slicing.
🪄 Recipe Notes & Tips
- Blend Well: A smooth consistency changes the texture significantly. Don’t skip this step!
- Thickness: Aim for about ¼ inch thick to maintain a sturdy base.
- Parchment Paper: Always use it for easy release and cleanup.
- Watch for Golden Edges: Keep an eye on the crust, removing once the edges start to lightly brown.
- Bubbling Cheese: For extra bubbly cheese, turn on the broiler for the last 1-2 minutes, but watch closely.
🫙 Storage Instructions
- Fridge: Keep leftovers in an airtight container for up to 4 days.
- Reheating: Microwave for 30–45 seconds or warm in the oven at 350°F.
- Freezing: Freeze baked crusts without toppings. Thaw and top before a quick re-bake.
✨ Variations
- Spicy: Add red pepper flakes to the batter.
- Garlic Herb: Mix in garlic powder or Italian seasoning for added flavor.
- Veggie Lovers: Load with sautéed veggies.
- Breakfast Style: Swap sauce for scrambled eggs and greens.
🍽️ What to Serve With Cottage Cheese Pizza
- Chicken Dishes: Pair with Air Fryer Chicken Tenders or Keto Chicken Wings.
- Dips: Try Cottage Cheese Ranch Dip or marinara.
- Salad: A crisp salad complements perfectly.
- Dessert: Finish off with Cottage Cheese Brownies!
❓ Frequently Asked Questions
- Does the crust hold up like traditional pizza?
Yes! When blended well, it holds together nicely while providing a unique texture. - What if the crust is soggy?
This typically means it needs more baking time or was spread too thin. Aim for about ¼ inch thickness. - Is blending the cottage cheese necessary?
Absolutely! It transforms the crust’s texture from grainy to smooth.
Enjoy making this healthy Cottage Cheese Pizza Crust for satisfying meals any night of the week! Don’t forget to experiment with your favorite toppings for a personalized experience.