
The Yummiest Eggless Blueberry Cheesecake at Home: A Delightful Treat for Everyone!
Are you ready to indulge in a creamy, luscious dessert that’s perfect for every occasion? Look no further than this yummiest eggless blueberry cheesecake! Whether you’re celebrating a birthday, hosting a family gathering, or just craving something sweet, this easy cheesecake recipe is sure to be a hit. Packed with fresh blueberries and a melt-in-your-mouth texture, it’s a guaranteed crowd-pleaser. Plus, it’s eggless, making it suitable for everyone, including those with dietary restrictions!
A Sweet Story Behind the Recipe
Blueberry cheesecake holds a special place in many hearts, especially during summer months when fresh blueberries are in abundance. This eggless cheesecake takes the classic flavor to a whole new level, providing a velvety smooth texture that melts in your mouth. It’s often served at summer picnics and holiday gatherings, making it a beloved family favorite. Feeling adventurous? You can even add a hint of lemon to elevate the flavors. Trust me; your friends will be begging for seconds!
Ingredients
To make this best blueberry cheesecake recipe, you’ll need the following ingredients:
For the Crust:
- 1.5 cups digestive biscuits (or graham crackers)
- 1/2 cup unsalted butter, melted
- 1/4 cup sugar (optional)
For the Cheese Filling:
- 2 cups cream cheese, softened
- 1 cup powdered sugar
- 1 teaspoon vanilla extract
- 1 cup sour cream (or Greek yogurt)
- 1 tablespoon lemon juice
For the Blueberry Topping:
- 2 cups fresh blueberries (or frozen, if out of season)
- 1/4 cup sugar
- 1 tablespoon cornstarch
- 1 tablespoon water
- Optional: a squeeze of lemon juice for extra zest
Instructions
Now that you have all the ingredients ready, let’s dive into making this easy blueberry cheesecake!
Step 1: Prepare the Crust
- Preheat your oven to 350°F (175°C).
- In a mixing bowl, crush the digestive biscuits until fine crumbs form.
- Pour in the melted butter and sugar, and mix until well combined.
- Press the mixture firmly into the bottom of a 9-inch springform pan to form a crust.
- Bake for 10 minutes or until lightly golden. Remove from the oven and let it cool completely.
Step 2: Make the Cheese Filling
- In a large mixing bowl, beat the softened cream cheese until smooth and creamy, about 2-3 minutes.
- Gradually add in the powdered sugar, mixing until well blended.
- Stir in the vanilla extract, sour cream, and lemon juice until all ingredients are combined.
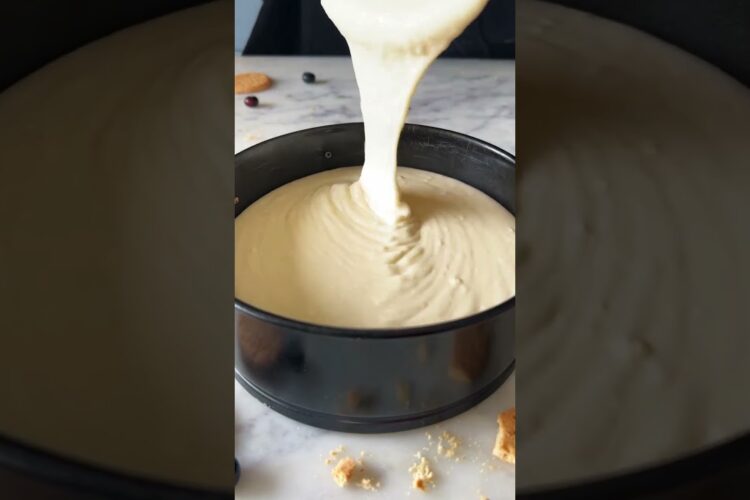
- Pour this luscious mixture over the cooled crust, smoothing out with a spatula.
Step 3: Bake
- Bake the cheesecake at 325°F (160°C) for 45-50 minutes or until the edges are set but the center is slightly jiggly.
- Turn off the oven and let the cheesecake cool in the oven with the door slightly ajar. This helps to prevent cracking.
Step 4: Make the Blueberry Topping
- In a small saucepan, combine the blueberries, sugar, cornstarch, and water.
- Cook over medium heat until the mixture thickens and bubbles, about 5-10 minutes.
- Remove from heat and let it cool slightly.
Step 5: Assemble
- Once the cheesecake has cooled, top it with the blueberry mixture.
- Refrigerate for at least 4 hours (preferably overnight) before serving.
Tips and Variations
- Serving Ideas: Serve this delicious cheesecake with whipped cream or a scoop of vanilla ice cream for an extra treat.
- Fruit Variations: Swap out blueberries for strawberries, raspberries, or even mango to customize your cheesecake.
- Add Some Crunch: For an added crunch, mix some nuts into your crust or sprinkle them on top after adding the blueberry topping.
Now that you know how to make this yummiest eggless blueberry cheesecake, it’s time to gather your ingredients and get baking! It’s a simple yet delightful recipe everyone will adore. Give it a try, and don’t forget to let us know how it turned out! Happy baking! 🥳🍰