
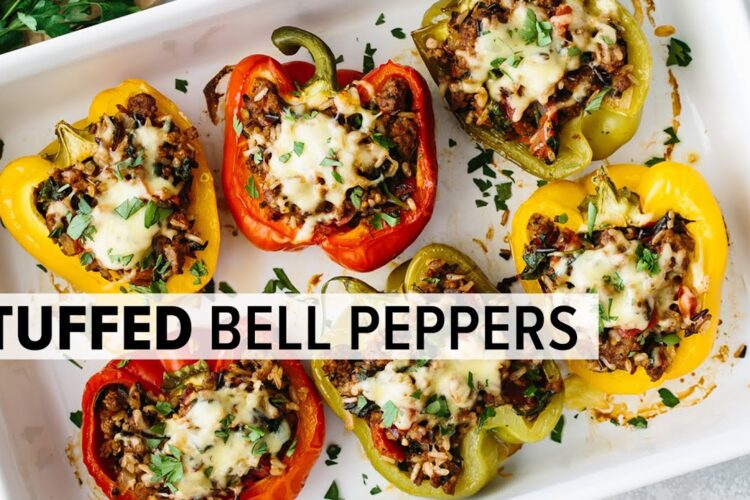
Stuffed Bell Peppers: A Flavor-Packed Easy Recipe for Meal Prep
If you’re looking for a comforting, satisfying dish that also makes meal prep a breeze, then stuffed bell peppers are your answer! These vibrant, colorful veggies filled with a savory mixture of grains, proteins, and spices are not only delicious but also customizable to suit any dietary preference. Whether you’re a busy professional, a parent trying to get dinner on the table, or just someone who loves good food, this easy recipe will quickly become a staple in your kitchen.
The Popularity of Stuffed Peppers
Stuffed peppers have been a favorite in households for generations. With origins tracing back to various European cuisines, they serve as a canvas for culinary creativity. They can be filled with anything from seasoned beef to quinoa, making them versatile and suitable for any occasion—be it a family dinner, a potluck, or meal prep for the week ahead. Plus, they’re a great way to sneak in vegetables for picky eaters. Ready to dive in? Let’s get started on this fabulous stuffed bell peppers recipe!
Ingredients
To whip up these delicious stuffed bell peppers, you’ll need the following ingredients:
- 4 large bell peppers (any color you prefer)
- 1 pound ground beef or turkey (for a vegetarian option, substitute with black beans, lentils, or a plant-based meat)
- 1 cup cooked rice or quinoa (brown rice adds a nice nutty flavor)
- 1 can (14.5 oz) diced tomatoes (drained or undrained, depending on your preference)
- 1 small onion, diced
- 2 cloves garlic, minced
- 1 teaspoon Italian seasoning
- Salt and pepper to taste
- 1 cup shredded cheese (cheddar, mozzarella, or your favorite kind)
- Olive oil for sautéing
- Fresh herbs for garnish (optional)
Instructions
Step 1: Preheat the Oven
Preheat your oven to 375°F (190°C) to ensure it’s ready for the stuffed bell peppers as soon as they’re assembled.
Step 2: Prepare the Bell Peppers
Cut the tops off the bell peppers and remove the seeds. You can keep the tops for garnish if you like! Lightly brush the outside of the peppers with olive oil and place them upright in a baking dish.
Step 3: Make the Filling
In a large skillet, heat a drizzle of olive oil over medium heat. Sauté the diced onion until translucent, about 3-4 minutes, then add the minced garlic. After another minute, add the ground meat, break it up, and cook until browned. Drain any excess fat.
Next, stir in the cooked rice or quinoa, diced tomatoes, Italian seasoning, salt, and pepper. Cook until everything is heated through, approximately 2-3 minutes.
Step 4: Stuff the Peppers
Remove the skillet from heat and stir in about 3/4 of the shredded cheese into the filling. Spoon the mixture into each bell pepper, pressing down gently to pack it in.
Step 5: Bake
Cover the baking dish with foil and bake for 30 minutes. After that, remove the foil, sprinkle the remaining cheese on top, and bake for an additional 10-15 minutes until the cheese is bubbly and golden.
Step 6: Serve
Once cooked, allow the stuffed peppers to rest for a few minutes before serving. Garnish with fresh herbs if desired, and enjoy your delicious meal!
Tips & Variations
- Meal Prep: Stuffed peppers keep well in the refrigerator for about 3-4 days. They can easily be reheated in the microwave or oven.
- Make it Vegetarian: Use lentils, beans, or a mix of vegetables instead of meat.
- Add Spice: For a kick, mix in some diced jalapeños or chili flakes into the filling.
- Cheese Lovers: Feel free to experiment with different cheeses for varied flavors, such as feta or goat cheese.
Wrap Up and Call to Action
Stuffed bell peppers are not only the best stuffed veggie recipe, but they also make for a nourishing meal that everyone can enjoy. They’re easy to make, customize, and reheat, perfect for your busy lifestyle! So what are you waiting for? Try this easy stuffed bell pepper recipe and let us know how it turned out! Share your variations in the comments below! Happy cooking!