
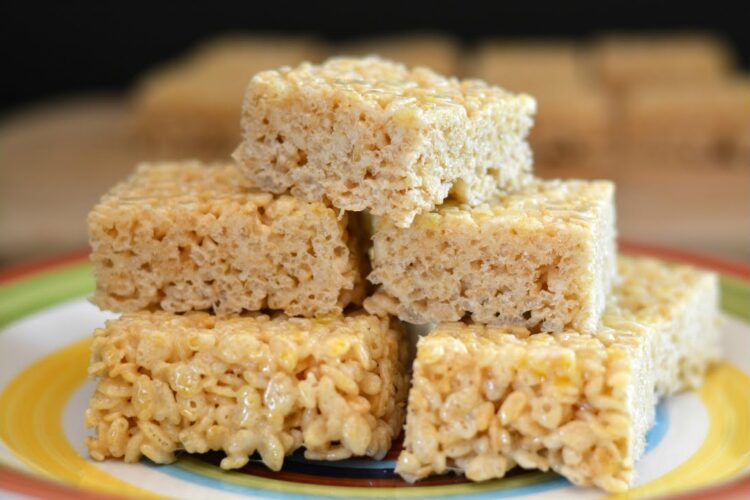
How to Make Rice Krispie Treats: The Best Easy Recipe!
Are you ready to take your taste buds on a nostalgic trip back to childhood? If you’re looking for the best Rice Krispie Treats recipe, you’ve landed in the right spot! These gooey, chewy delights are not only incredibly easy to make, but they also require just a few simple ingredients. Whether you’re planning a party, looking for a quick snack, or wanting to get the kids involved in the kitchen, these treats are a crowd-pleaser that never goes out of style!
A Little Backstory on Rice Krispie Treats
Did you know that Rice Krispie Treats were first created in the 1930s? They quickly became a staple in many American households because of how easy they are to prepare! These treats make for a fantastic dessert at birthday parties, school events, or simply as an after-school snack. Plus, they’re perfect for bonding with your kids while keeping it hassle-free in the kitchen. So, let’s dive in and learn how to make Rice Krispie Treats that will impress your family and friends!
Ingredients
To create the best Rice Krispie Treats, you will need:
- 3 tablespoons of butter
- 1 package (10 oz) of mini marshmallows (or about 6 cups of regular marshmallows)
- 6 cups of Rice Krispies cereal
- 1 teaspoon vanilla extract (optional for added flavor)
- Sprinkle of salt (just a pinch to enhance the sweetness)
Optional Add-Ins:
- Chocolate chips (for the chocolate lovers)
- Sprinkles (to make it festive)
- Peanut butter (for a nutty flavor)
Instructions
Now that you have your ingredients ready, let’s get to the fun part! Here’s how to make Rice Krispie Treats step-by-step:
Step 1: Melt the Butter
In a large pot, melt the butter over low heat. Make sure it doesn’t brown; just melt it gently.
Step 2: Add Marshmallows
Once the butter is melted, add the marshmallows into the pot. Stir continuously until the marshmallows are completely melted and smooth. The key here is patience—don’t rush this part!
Step 3: Mix in Vanilla and Salt
If you’re using vanilla extract and salt, mix them in right after the marshmallows have melted to create a delicious flavor base.
Step 4: Combine with Rice Krispies
Remove the pot from heat, and quickly stir in the Rice Krispies cereal. Make sure every single piece is coated in that gooey marshmallow mixture!
Step 5: Transfer and Cool
Grease a 13×9-inch baking dish with butter or cooking spray, and pour the Rice Krispie mixture into the dish. Using a spatula (or your hands—greased, of course!), press the mixture evenly and firmly into the dish. Do not compress it too much, or the treats will turn out hard!
Step 6: Let it Sit
Allow your Rice Krispie Treats to cool for about 30 minutes. Once set, cut them into squares or fun shapes using cookie cutters.
Tips & Variations
- For a Chewy Texture: Use additional marshmallows (about 1.5 packages) or mix in a tablespoon of corn syrup for extra gooeyness.
- To Add Flavor: Drizzle melted chocolate over the top before they cool, or mix in flavored chips like butterscotch or white chocolate.
- Storage: Store your treats in an airtight container at room temperature for up to 3 days (if they last that long!).
These Rice Krispie Treats are not just easy to make; they are fun to customize! Whether you add nuts for crunch or sprinkles for color, the possibilities are endless.
So what are you waiting for? Grab those Rice Krispies and get cooking! Try this recipe and let us know how it turned out. Did you add any exciting twists? We’d love to hear in the comments below! Happy treat-making!