
The Ultimate Red Velvet Cake Recipe for Any Celebration
There’s something utterly enchanting about a Red Velvet Cake. With its vibrant crimson hue and luscious cream cheese frosting, this cake instantly elevates any occasion. Whether you’re celebrating a special birthday, Valentine’s Day, or simply indulging your sweet tooth, this cake is guaranteed to impress. In this post, I’ll share my favorite easy Red Velvet Cake recipe, complete with tips and variations that will take your baking game to the next level!
A Little Backstory on Red Velvet Cake
Red Velvet Cake has a storied past, shrouded in mystery and deliciousness. Its origins can be traced back to the early 19th century, but it didn’t gain popularity until the 1920s, when a recipe for “velvet cake” was published. Today, this cake is a favorite in bakeries and homes alike. It’s not just the striking color that makes it special—it’s the perfect balance of cocoa, buttermilk, and a hint of tanginess from the cream cheese frosting that leaves everyone wanting more. Serve it at your next gathering, and watch your friends and family swoon over each luscious bite!
Ingredients
To whip up the best Red Velvet Cake, you’ll need the following ingredients:
For the Cake:
- 2 ½ cups all-purpose flour
- 1 ½ cups granulated sugar
- 1 teaspoon baking soda
- 1 teaspoon salt
- 1 teaspoon cocoa powder
- 1 ½ cups vegetable oil
- 1 cup buttermilk, room temperature
- 2 large eggs, room temperature
- 2 tablespoons red food coloring
- 1 teaspoon vanilla extract
- 1 teaspoon white vinegar
For the Cream Cheese Frosting:
- 1 cup unsalted butter, softened
- 8 oz cream cheese, softened
- 4 cups powdered sugar
- 1 teaspoon vanilla extract
- A pinch of salt
Instructions
Ready to dive in? Let’s learn how to make this delicious Red Velvet Cake!
Step 1: Prepare Your Baking Pans
- Preheat your oven to 350°F (175°C). Grease and flour two 9-inch round cake pans.
Step 2: Mix Dry Ingredients
- In a large mixing bowl, sift together the all-purpose flour, sugar, baking soda, salt, and cocoa powder. Set aside.
Step 3: Combine Wet Ingredients
- In another bowl, whisk together the vegetable oil, buttermilk, eggs, red food coloring, vanilla extract, and vinegar until fully combined.
Step 4: Combine Wet and Dry Ingredients
- Gradually add the wet mixture to the dry ingredients. Mix until just combined. (Do not overmix!)
Step 5: Bake
- Divide the batter evenly between the prepared pans. Bake for 25-30 minutes or until a toothpick inserted in the center comes out clean.
Step 6: Cool
- Allow the cakes to cool in the pans for about 10 minutes, then transfer them to a wire rack to cool completely.
Step 7: Prepare the Frosting
- In a large bowl, beat together the softened butter and cream cheese until smooth. Gradually add the powdered sugar, vanilla extract, and salt. Mix until fluffy.
Step 8: Assemble the Cake
- Once the cakes are cool, place one layer on a serving plate. Spread a generous amount of cream cheese frosting on top, then place the second layer and frost the top and sides of the cake.
Tips and Variations
- Color Variation: If you want to switch things up, consider using different food coloring to create a unique visual effect or even layer different colored cakes.
- Floral Additions: For an aromatic twist, add a teaspoon of almond extract or some finely grated orange zest to the batter or frosting.
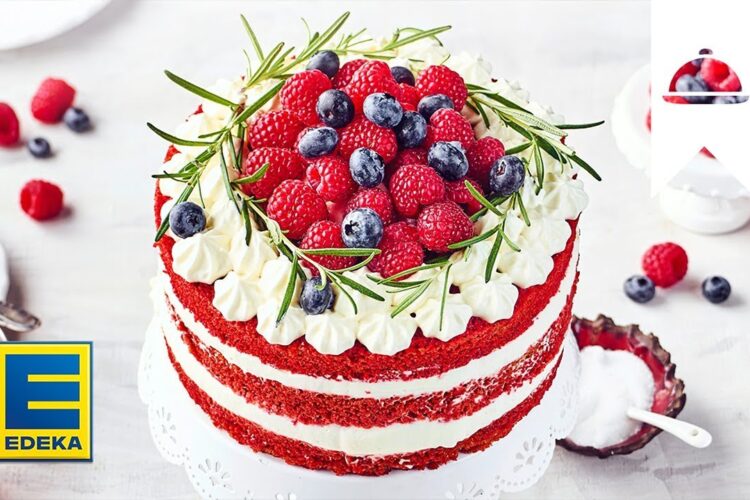
- Serving Suggestions: This cake pairs wonderfully with a glass of milk, a scoop of vanilla ice cream, or fresh berries on the side. It’s perfect for potlucks, birthdays, and even intimate dinners.
Conclusion
Now that you have the ultimate Red Velvet Cake recipe, it’s time to get baking! This cake is sure to be a crowd-pleaser at any event, and I can’t wait to hear how yours turns out. Don’t forget to share your baking adventures in the comments below! Try it and let us know how it turned out! Happy baking!