
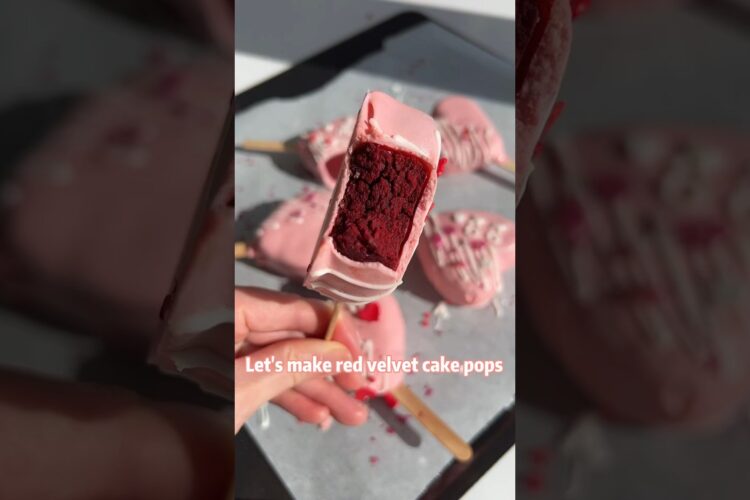
Indulgent Red Velvet Cake Pops 💗🍭 – The Best Easy Recipe
Are you ready to impress your friends and family with a delightful treat? These red velvet cake pops are not just eye-catching; they are a delicious twist on the classic red velvet cake! Perfect for birthdays, parties, or any special occasion, these cake pops are an easy recipe that will have everyone asking for seconds. Plus, their vibrant color and creamy texture make them a standout dessert!
The Story Behind Red Velvet Cake Pops
Red velvet cake has a rich history, often linked to special occasions and celebrations. By transforming this iconic treat into cake pops, you get the best of both worlds—individual servings that are easy to enjoy. They are perfect for school events or as a whimsical dessert option at your next gathering. Trust me, once you bring these to the table, they will steal the show!
Ingredients
To get started on your best red velvet cake pops recipe, gather the following ingredients:
For the Cake
- 1 box red velvet cake mix (plus ingredients listed on the box)
- 1 cup cream cheese frosting (store-bought or homemade)
For the Coating
- 12 oz white chocolate or candy melts (for coating)
- Sprinkles or food-safe glitter (for decoration)
For Assembling
- Lollipop sticks or sturdy straws
- Floral foam or a cake pop stand (for drying)
Instructions
Follow these simple steps on how to make red velvet cake pops that will leave your taste buds craving more!
Step 1: Bake the Cake
- Preheat your oven according to the cake mix instructions.
- Prepare the cake mix as directed on the package, then pour the batter into a greased 9×13-inch pan.
- Bake according to the package instructions. Once done, let it cool completely.
Step 2: Crumble the Cake
- Once cooled, crumble the cake into a large mixing bowl until it’s finely broken.
- Add in the cream cheese frosting, a little at a time, mixing until it’s evenly combined. The mixture should be moist but firm enough to hold its shape.
Step 3: Form the Cake Balls
- Using your hands, scoop out small portions of the cake mixture and form them into 1-inch balls.
- Place the balls on a baking sheet lined with parchment paper.
Step 4: Insert the Sticks
- Melt a small amount of chocolate or candy melts, then dip one end of the lollipop stick into the melted chocolate before inserting it into each cake ball. This helps them stick better.
- Once all the sticks are in place, freeze the cake pops for about 30 minutes to firm them up.
Step 5: Coat the Cake Pops
- Melt the remaining white chocolate or candy melts according to package instructions.
- Dip each cake pop into the melted chocolate, ensuring it’s fully coated. Allow the excess chocolate to drip off.
- While the chocolate is still wet, add your choice of sprinkles or edible glitter for an extra festive look.
Step 6: Dry and Serve
- Insert the cake pops into floral foam or a cake pop stand and let them set until the coating is firm.
- Serve these beauties at room temperature and watch them disappear!
Tips and Variations
- Chocolate Cake Pops: For a different flavor, feel free to substitute the red velvet cake mix with a chocolate cake mix!
- Flavor Variations: Consider adding a few drops of peppermint or vanilla extract to the cake mix or frosting for a fun twist.
- Dietary Adjustments: To make your cake pops gluten-free, use a gluten-free cake mix.
Final Thoughts
There you have it—the ultimate guide to making red velvet cake pops! These treats are fun, festive, and utterly delicious. If you’re looking for a spectacular dessert to impress at your next gathering or simply want to indulge, this easy recipe is your new go-to.
Give them a try and let us know how it turned out! We’d love to hear about your experience and any variations you came up with! Happy baking! 🍰✨