
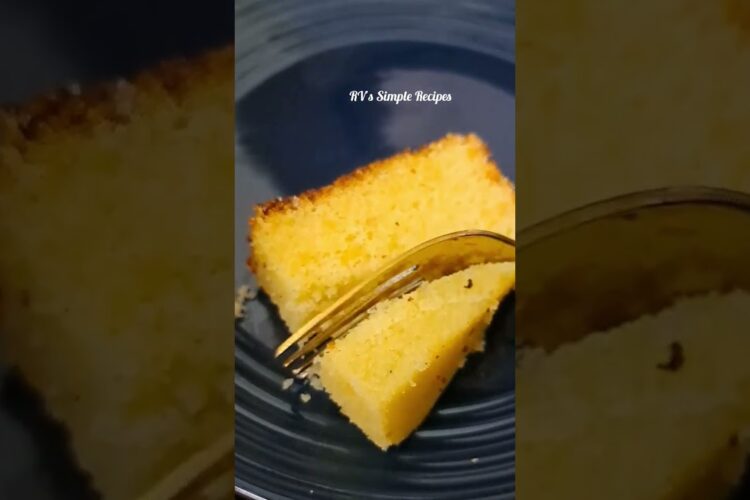
No Oven Mawa Cake: An Easy Recipe for a Delicious Indian Dessert
If you’re craving a deliciously rich and moist dessert but don’t have an oven at home, you’re in luck! Today, we’re diving into the world of No Oven Mawa Cake—a super easy recipe that’s perfect for any occasion. This delectable treat is made with mawa (milk solids) and flavored with cardamom, making it a popular favorite at Indian festivities. Whether you’re hosting a celebration or simply want to indulge your sweet tooth, this cake is just what you need!
A Sweet Tale of Tradition
Mawa cake is often enjoyed during festivals like Diwali and special family gatherings in Indian households. Its unique blend of flavors and textures has made it popular across generations. The best part? You can make it without an oven! This no oven mawa cake is perfect for those who want to whip up something delicious without the fuss. Whether you’re a seasoned baker or a novice, this easy recipe will have everyone raving about your culinary skills.
Ingredients
Here’s what you’ll need to make this delightful No Oven Mawa Cake:
- 1 cup mawa (khoya) – You can find this at Indian grocery stores or make it at home.
- 1 cup all-purpose flour (maida)
- 1/2 cup sugar – Adjust to taste.
- 1/4 cup ghee (clarified butter) – This adds richness.
- 1/2 cup milk – You may need a little extra for desired consistency.
- 1/2 teaspoon baking soda
- 1 teaspoon baking powder
- 1/2 teaspoon cardamom powder – The star flavor!
- A pinch of salt
- Chopped nuts (optional) – For garnish.
Why These Ingredients?
Using mawa not only adds unique flavor but also moisture to the cake, making it incredibly rich. Ghee enhances the taste and aroma, while cardamom lends a warm, spicy note that takes your cake to the next level!
Instructions
How to Make No Oven Mawa Cake
Let’s get started with this easy recipe:
-
Prepare Your Pan: Grease a round cake pan with ghee and line it with parchment paper. This prevents sticking and ensures easy removal.
-
Mix the Wet Ingredients: In a large bowl, combine the mawa and ghee. Mix until well blended. Then, gradually add the sugar and continue to beat until fully incorporated.
-
Add the Milk: Slowly add the milk to the mawa mixture, mixing continuously to achieve a smooth consistency.
-
Combine Dry Ingredients: In a separate bowl, sift together the flour, baking powder, baking soda, cardamom powder, and salt.
-
Blend Wet and Dry Mixtures: Gradually add the dry ingredients to the wet mixture, stirring gently until just combined. Do not over-mix; a few lumps are okay.
-
Prep for Steaming: Pour the batter into the prepared cake pan. Now, fill a large pot with water (about 1-2 inches deep) and place a steaming rack inside. Bring the water to a gentle boil.
-
Steam the Cake: Place the cake pan on the steaming rack. Cover the pot and steam for about 30-35 minutes or until a toothpick inserted into the center comes out clean.
-
Cool and Garnish: Once done, remove the cake from the pot and let it cool in the pan for about 10 minutes before transferring it to a wire rack. Garnish with chopped nuts and serve!
Tips & Variations
- Make It Eggless: This recipe is already eggless, but adding a little yogurt can make it even fluffier.
- Flavor Enhancements: Add a splash of rose water for an aromatic twist!
- Serving Suggestions: Pair it with a scoop of vanilla ice cream or serve it with a cup of masala chai for an unforgettable experience.
Storage
Store any leftover mawa cake in an airtight container at room temperature for up to 3 days or in the refrigerator for about a week.
Conclusion
This No Oven Mawa Cake is not just a recipe; it’s a labor of love! Perfectly moist, richly flavored, and super simple to make, this cake promises to be a hit at your next gathering. Try it out and let us know how it turned out! We love hearing your feedback and tips, so feel free to share your baking adventures with us! Happy baking!