
How to Make Homemade Peanut Butter Cookies: The Easy Recipe You’ll Love!
Are you ready to discover the ultimate comfort food that has been delighting taste buds for generations? Peanut butter cookies are a classic sweet treat—not only because they are incredibly delicious but also because they are super easy to make at home! Whether you’re baking for a family gathering, a school event, or just a cozy evening at home, knowing how to make peanut butter cookies will become an essential skill in your baking repertoire. Let’s get started!
A Little Peanut Butter Cookie History
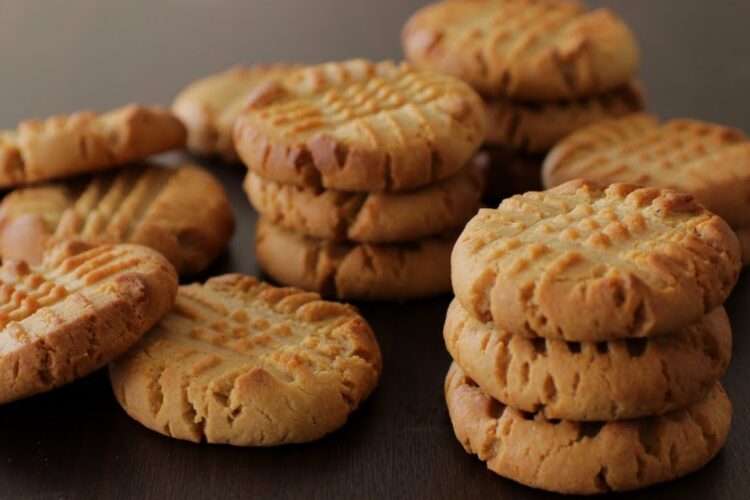
Peanut butter cookies have been a beloved dessert in American households since the early 1900s, with roots tracing back to Southern fried dough recipes. These cookies gained immense popularity during the Great Depression due to their affordability and accessibility. But what really makes them a staple? It’s their delightful crunch, rich flavor, and that unmistakable crisscross pattern that brings a smile to everyone’s face! Serve these cookies at birthday parties, holiday get-togethers, or simply enjoy them with a glass of cold milk!
Ingredients
To whip up these scrumptious peanut butter cookies, you’ll need just a handful of simple ingredients. Here’s a breakdown:
- 1 cup creamy or chunky peanut butter (your choice)
- 1 cup granulated sugar
- 1 large egg
- 1 teaspoon vanilla extract
- 1/2 teaspoon baking soda
- 1/4 teaspoon salt
Why These Ingredients Work
The combination of peanut butter, sugar, and that juicy egg creates a mouthwatering base. The baking soda and salt enhance the flavor and help these cookies achieve the perfect texture: crispy around the edges and soft in the middle.
Instructions
Get your apron on and let’s get baking! Here’s a step-by-step guide on how to make peanut butter cookies:
Step 1: Preheat Your Oven
Preheat your oven to 350°F (175°C). This step is essential for achieving perfectly baked cookies that are nice and chewy!
Step 2: Mix Ingredients
In a large mixing bowl, combine the peanut butter, granulated sugar, egg, vanilla extract, baking soda, and salt. Mix well until fully integrated, ensuring a smooth and creamy dough.
Step 3: Shape the Cookies
Using a spoon or cookie scoop, form small balls of dough (about 1 inch in diameter). Place them on a parchment-lined baking sheet, making sure to leave some space between each cookie.
Step 4: Crisscross the Dough
Take a fork and gently press down on each ball of dough to create the classic crisscross pattern. This not only makes them look stunning but helps them bake evenly!
Step 5: Bake
Pop your cookie sheet into the preheated oven and bake for 10-12 minutes. Keep an eye on them; you want them to be golden brown but not overdone!
Step 6: Cool and Enjoy
Once baked, remove the cookies from the oven and let them rest on the baking sheet for about 5 minutes before transferring them to a wire rack to cool completely. Grab a glass of milk, and you’re ready to indulge!
Tips and Variations
Here are some great tips and variations to ensure you make the best peanut butter cookies:
- Chocolate Chip Twist: Add 1/2 cup of chocolate chips to the dough for a delightful twist!
- Nutty Option: Stir in some chopped nuts like almonds or walnuts for extra crunch.
- Storage Tips: Store cookies in an airtight container to maintain freshness. They can typically last for up to a week—if they last that long!
- Freezing Tip: You can freeze the cookie dough for up to three months! Just roll them into balls, freeze, and then bake directly from frozen when that cookie craving hits.
Final Thoughts
Now that you know how to make peanut butter cookies, it’s time to get baking! With their rich, nutty flavor and soft texture, these cookies are bound to bring a smile to anyone who tries them. So gather your ingredients, follow these simple instructions, and enjoy the delightful aroma wafting through your kitchen.
Give this easy recipe a whirl and let us know how your peanut butter cookies turned out! Happy baking!