
Glitter Cake with Crown – The Best Cake Recipe for a Real QUEEN
Are you ready to impress your guests and add a touch of royal flair to your next celebration? This Glitter Cake with Crown is not only visually stunning but also incredibly easy to make. Perfect for birthdays, princess-themed parties, or any special occasion, this cake will have everyone feeling like royalty. In this post, you’ll discover the best cake recipe to achieve that magical sparkle everyone loves, along with tips to make it uniquely yours.
A Cake Fit for a Queen
Every cake has a story, and this Glitter Cake is no exception! Imagine a dazzling birthday party for your little princess or a fabulous bridal shower where everyone leaves raving about the dessert. This cake’s shimmering finish and elegant crown topper guarantee it will steal the spotlight. It’s easy to see why this cake is becoming a viral sensation among food lovers and party planners alike. Let’s dive right into how to make this best cake for any royal occasion!
Ingredients
To create your Glitter Cake with Crown, gather the following ingredients:
For the Cake:
- 2 cups all-purpose flour – The base for a moist, fluffy cake.
- 1 ½ cups granulated sugar – Sweetness galore!
- ½ cup unsalted butter, softened – For that rich flavor.
- 1 cup milk – Ensures a soft texture.
- 3 ½ teaspoons baking powder – The rising star of your cake.
- 1 teaspoon vanilla extract – For a hint of warmth.
- ½ teaspoon salt – Balances the sweetness.
- 4 large eggs – Adds moisture and structure.
For the Frosting:
- 1 cup unsalted butter, softened – The key to creaminess.
- 4 cups powdered sugar – Sweet and fluffy consistency.
- 2 teaspoons vanilla extract – Adds delightful flavor.
- 1-2 tablespoons milk – To reach your desired frosting thickness.
- Edible glitter – The magical touch for a royal shimmer.
For the Crown Topper:
- Gold fondant or modeling chocolate – For an elegant crown.
- Edible gems (optional) – Add some royal bling!
Instructions
Now that we have our ingredients ready, let’s dive into how to make this show-stopping Glitter Cake!
-
Preheat your oven: Set your oven to 350°F (175°C). Grease and flour two round 9-inch cake pans to prepare for baking.
-
Mix dry ingredients: In a large bowl, whisk together flour, baking powder, and salt. Set aside.
-
Cream the butter and sugar: In another bowl, beat the softened butter and granulated sugar until light and fluffy. This should take about 3-4 minutes.
-
Add eggs and milk: Mix in the eggs one at a time, followed by the milk and vanilla extract. Blend until everything is well combined.
-
Combine wet and dry ingredients: Gradually add the dry mixture to the wet mixture, stirring until just combined.
-
Bake the cakes: Divide the batter evenly between the prepared pans. Bake for 25-30 minutes, or until a toothpick inserted into the center comes out clean. Let them cool completely on wire racks.
-
Make the frosting: Beat softened butter until creamy before gradually adding powdered sugar. Mix in the vanilla extract and milk until you achieve the desired consistency.
-
Frost the cake: Once the cakes are cool, place one layer on a serving plate. Spread a generous layer of frosting on top, then place the second layer on top. Frost the whole cake smoothly.
-
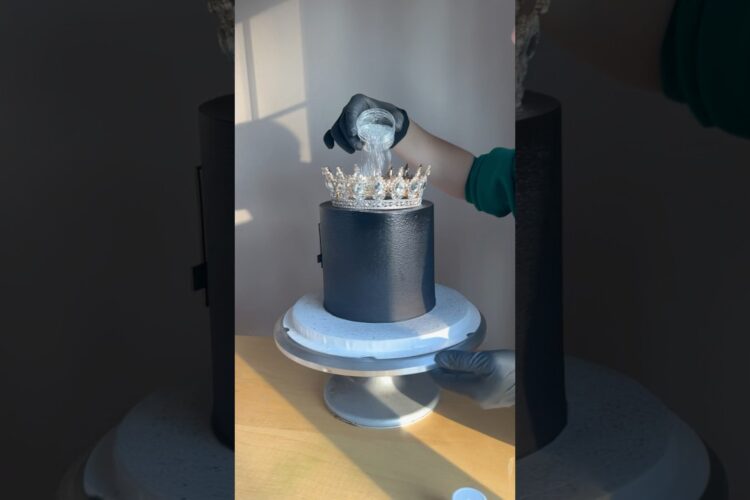
Add the glitter: Generously sprinkle edible glitter over the frosted cake to create that eye-catching sparkle!
-
Create the crown: Mold your gold fondant into a crown shape, embellishing with edible gems if desired. Place it gently on top of the cake.
Tips and Variations
- Make it colorful: Add food coloring to the cake batter for a vibrant twist!
- Flavor twists: Experiment with different extracts like almond or lemon for unique flavor profiles.
- Storage tips: Keep your Glitter Cake in an airtight container to maintain freshness for up to 3 days.
Conclusion
This Glitter Cake with Crown is not just a cake; it’s an experience. With its simple yet impressive design, it’s guaranteed to be a hit at your next event. Try it out and let us know how it turned out! Don’t forget to share your creations on social media, and tag us—we love to see how you bring this royal recipe to life!