
Bolo Red Velvet ❤️ Receita! The Best Red Velvet Cake Recipe You’ll Ever Make!
If you’re looking for a show-stopping dessert that will impress your friends and family, then look no further than this mouthwatering Bolo Red Velvet! This vibrant cake, with its deep red hue and velvety texture, is perfect for any occasion, whether it be a birthday party, anniversary, or simply a Sunday treat. Plus, it’s surprisingly easy to make! Ready to dive into this decadent recipe? Let’s get started!
Why Red Velvet Cake is a Crowd Favorite
Red velvet cake has an intriguing backstory that adds to its charm. Originating in the early 20th century, it’s said that this beautiful dessert was originally enjoyed by the elite, often showcased at lavish events. What many people love about red velvet cake is its unique combination of flavors—slightly cocoa-infused, with a hint of tanginess from the cream cheese frosting. Its rich taste and stunning appearance make it a favorite at weddings and celebrations. So why not make your own?
Ingredients
To create the best Bolo Red Velvet, you’ll need the following ingredients:
For the Cake:
- 2 cups all-purpose flour
- 1 ½ cups granulated sugar
- 1 teaspoon baking soda
- 1 teaspoon salt
- 1 teaspoon cocoa powder
- 1 ½ cups vegetable oil
- 1 cup buttermilk, room temperature
- 2 large eggs, room temperature
- 2 tablespoons red food coloring
- 1 teaspoon vanilla extract
- 1 teaspoon white vinegar
For the Cream Cheese Frosting:
- 8 oz cream cheese, softened
- ½ cup unsalted butter, softened
- 4 cups powdered sugar
- 1 teaspoon vanilla extract
Instructions
Now that you have your ingredients ready, here’s how to make this easy Bolo Red Velvet in just a few steps!
Step 1: Preheat the Oven
Preheat your oven to 350°F (175°C). Grease and flour two 9-inch round cake pans.
Step 2: Mix Dry Ingredients
In a large bowl, whisk together the flour, sugar, baking soda, salt, and cocoa powder until well combined.
Step 3: Combine Wet Ingredients
In another bowl, mix together the vegetable oil, buttermilk, eggs, food coloring, vanilla extract, and vinegar. Make sure all liquids are at room temperature for optimal mixing.
Step 4: Combine Mixtures
Gradually add the wet ingredients to the dry ingredients, mixing until just combined. Be careful not to overmix!
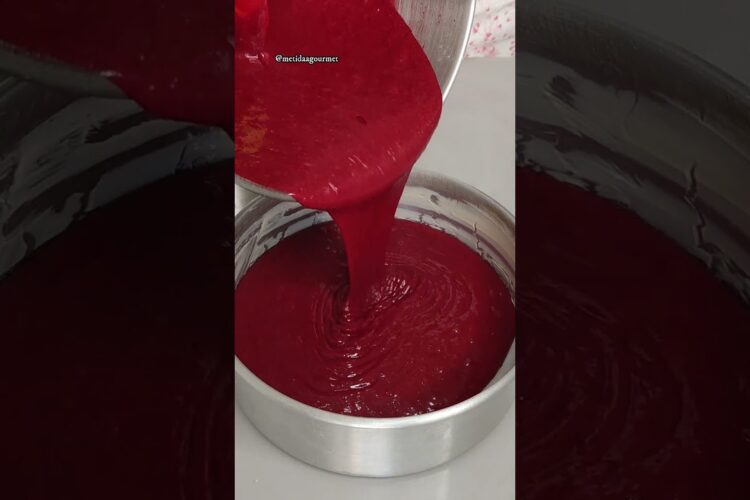
Step 5: Bake
Divide the batter evenly between the two prepared cake pans. Bake for 25-30 minutes or until a toothpick inserted into the center comes out clean. Let the cakes cool in the pans for 10 minutes and then transfer them to a wire rack to cool completely.
Step 6: Prepare the Frosting
While the cake cools, beat the softened cream cheese and butter together until smooth. Gradually add the powdered sugar, mixing well. Finally, stir in the vanilla extract.
Step 7: Frost the Cake
Once the cakes are completely cool, spread a layer of cream cheese frosting on top of one cake, place the second layer on top, and frost the entire cake. For an added touch, you can decorate the top with red velvet cake crumbs!
Tips and Variations
- Make it Fun: Consider adding a splash of festive sprinkles to the frosting for birthdays or special occasions.
- Flavor Boost: For an extra flavor kick, add a teaspoon of almond extract to the cake batter.
- Serving Suggestions: This delicious Bolo Red Velvet pairs beautifully with a scoop of vanilla ice cream or a drizzle of chocolate sauce.
Storing Your Cake
Store any leftover cake in the refrigerator to keep the cream cheese frosting fresh. It will last up to 4 days, but we doubt it will last that long—it’s that good!
Final Thoughts
Now that you know how to make this delightful Bolo Red Velvet, it’s time to gather your ingredients and get baking! This cake is not just a treat; it’s a joyful experience infused with love and flavor. Try it out and let us know how it turned out!
Happy baking! 🎂 Don’t forget to share your delicious creations and tag us in your photos!