
20-Minute Chili Crisp: The Ultimate Easy Recipe You’ll Love
Chili crisp is the secret ingredient that transforms any dish into an explosion of flavor! Whether you’re drizzling it over fried rice, tossing it with noodles, or using it as a dipping sauce, this 20-minute chili crisp is an easy recipe that brings depth and heat to your culinary creations. Perfect for any home cook, this recipe makes it simple to create your own delicious condiment that will leave your taste buds dancing!
A Flavorful Journey
Chili crisp originated in China but has found its way into kitchens around the world, becoming a beloved staple in many households. Its popularity skyrocketed because it’s incredibly versatile—great for spice lovers and novice cooks alike. You can serve it at family gatherings, casual dinners, or even brunch to spice up your typical scrambled eggs. Plus, it’s a fantastic homemade gift idea! Everyone loves a jar of homemade chili crisp as a thoughtful present.
Ingredients
Ready to make your own batch of vibrant, savory chili crisp? Here’s what you’ll need:
Essential Ingredients
-
1 cup vegetable oil
(or any neutral oil of your choice) -
1/2 cup dried chili flakes
(adjust based on your heat preference) -
1/4 cup sliced garlic
(freshly sliced garlic adds flavor) -
1/4 cup chopped green onions
(adds freshness and crunch) -
2 tablespoons soy sauce
(for a savory umami kick) -
1 tablespoon sesame seeds
(toasting them enhances their nuttiness) -
1 teaspoon sugar
(balances out the heat) -
Salt to taste
Instructions
Here’s a simple step-by-step guide on how to make this best chili crisp recipe:
Step 1: Heat the Oil
- In a small saucepan over medium heat, warm the vegetable oil.
- Let it heat until it shimmers, but be careful not to let it smoke.
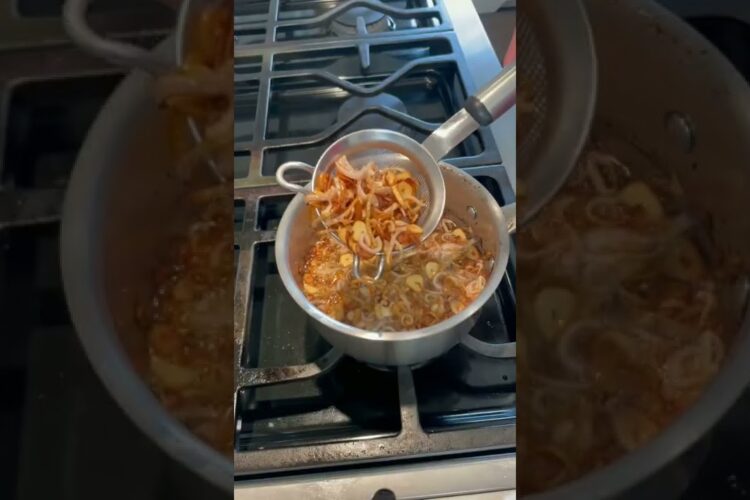
Step 2: Add Ingredients
- Stir in the sliced garlic and cook for about 2-3 minutes until it turns golden brown.
- Remove the pan from heat.
Step 3: Combine Spices
- In a heat-proof bowl, add the dried chili flakes, chopped green onions, soy sauce, sesame seeds, sugar, and salt.
- Carefully pour the hot oil over the mixture in the bowl, stirring well to combine all ingredients.
Step 4: Cool and Serve
- Let it cool completely before transferring the chili crisp into a jar.
- Store it in the fridge, where it can last for weeks!
Tips and Variations
Creating your own chili crisp can be customized to fit your tastes. Here are some ideas to make it even more special:
Spice Things Up
-
Adjust the Heat: Use more chili flakes if you love spice. Experiment with different types of dried peppers for various flavors.
-
Add Nuts: Incorporate chopped peanuts or almonds for extra crunch and depth.
Flavor Enhancements
-
Herbs: Try adding a pinch of dried herbs like oregano or thyme for a unique twist.
-
Infused Oils: Experiment with infused oils, such as garlic or chili oil, for even more flavor.
Serving Suggestions
-
Drizzle it over pizzas, salads, roasted veggies, or grilled meats.
-
Use it as a condiment alongside your favorite dishes—it pairs wonderfully with dumplings or avocado toast!
Time to Spice Up Your Life!
With this easy chili crisp recipe, you’ll never want to buy store-bought again. It’s quick, simple, and perfect for elevating your meals. Try it and let us know how it turned out! Your guests will be asking for the recipe in no time. Happy cooking!