
Mastering Cake Decorating: The Ultimate Cupcake Piping Technique Tutorial
Are you ready to elevate your baking game? If you’ve ever admired those stunningly decorated cupcakes on social media, you’re in the right place! In this detailed guide on cupcake piping techniques, we will explore how to make your desserts not just delicious but beautifully presented. From buttercream basics to intricate floral designs, you’ll discover everything you need to create impressive treats that are perfect for any occasion!
Why Cupcake Decorating is an Instant Crowd-Pleaser
Cupcakes have taken the dessert world by storm, and it’s not just because they are cute and portable! Whether it’s a birthday, wedding, or just a casual gathering, beautifully decorated cupcakes can steal the show. Their versatility allows you to experiment with flavors, colors, and designs, making them popular among bakers and food lovers alike. Plus, piping buttercream into delightful shapes – from classic swirls to elegant roses – is not only satisfying but also an excellent way to impress your friends and family.
Ingredients for Perfect Buttercream Frosting
To get started on your cupcake piping journey, you’ll need the perfect buttercream frosting. Here’s a simple and tasty recipe that’s ideal for piping:
Basic Buttercream Ingredients:
- 1 cup (2 sticks) unsalted butter, softened
- 4 cups powdered sugar
- 2 tablespoons milk
- 1 teaspoon pure vanilla extract
- A pinch of salt (optional, to balance sweetness)
Instructions: Making the Buttercream
Step 1: Cream the Butter
In a large mixing bowl, beat the softened butter with an electric mixer on medium speed until it’s light and fluffy – about 2-3 minutes.
Step 2: Add the Sugar
Gradually add the powdered sugar, one cup at a time. Mix on low speed until combined, then increase the speed to medium-high, scraping down the sides of the bowl as needed.
Step 3: Incorporate Milk and Flavor
Once the sugar is fully incorporated, add milk, vanilla extract, and optional salt. Beat for another minute until the mixture is smooth and creamy. If your frosting seems too thick, add a bit more milk; if it’s too thin, sprinkle in more powdered sugar.
Step 4: Color Your Frosting
If you want colorful frosting for piping, divide the buttercream into separate bowls and add gel food coloring to each, then mix until you achieve the desired shade!
Tips & Variations for Perfect Cupcake Piping
Common Cupcake Piping Techniques
-
The Classic Swirl: Use a star tip (like Wilton 1M) for a lovely cupcake swirl. Start from the outer edge and work your way inward in a spiraling motion.
-
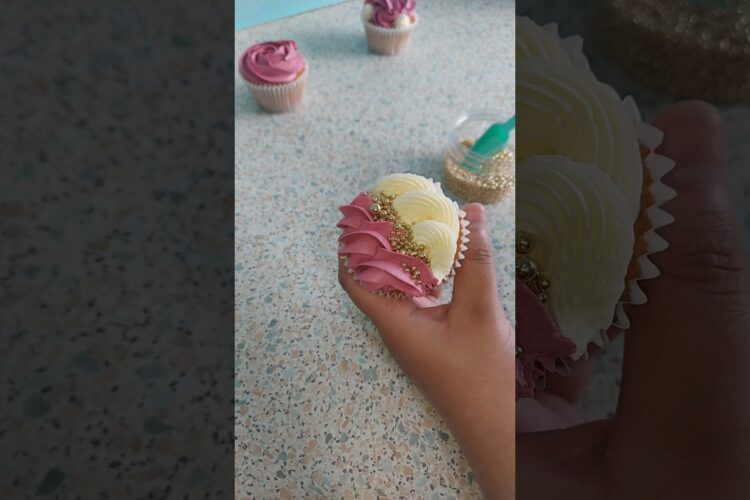
Rosettes: Perfect for special occasions! A petal tip (like Wilton 104) will help you form beautiful rosettes. Starting in the center, work your way outwards to create petals.
-
Leaves: Use a leaf tip (like Wilton 352) to add greenery to your floral designs. Start at the base and push up to create a leaf shape.
Cupcake Decorating Tips
- Temperature Matters: Ensure your buttercream is at room temperature for the best piping results.
- Practice Makes Perfect: Fill a piping bag and practice on wax paper to perfect your technique before frosting your cupcakes.
- Use a Turntable: Elevate your decorating game with a turntable for even frosting and easy access from all angles.
Flavor Variations
Experiment with flavors! Add cocoa powder for chocolate buttercream, or substitute vanilla with almond extract for a nutty twist. You can also fold in fruit purees for unique flavors!
Conclusion: Get Your Piping Bags Ready!
Now that you’re armed with the essential techniques and recipes for decorating magnificent cupcakes with buttercream, it’s time to get piping! Whether you’re making them for your loved ones or planning a special event, your decorated cupcakes are sure to be the highlight.
Try it out and let us know how it turned out! Share your sweet creations with us on social media. Happy decorating!