
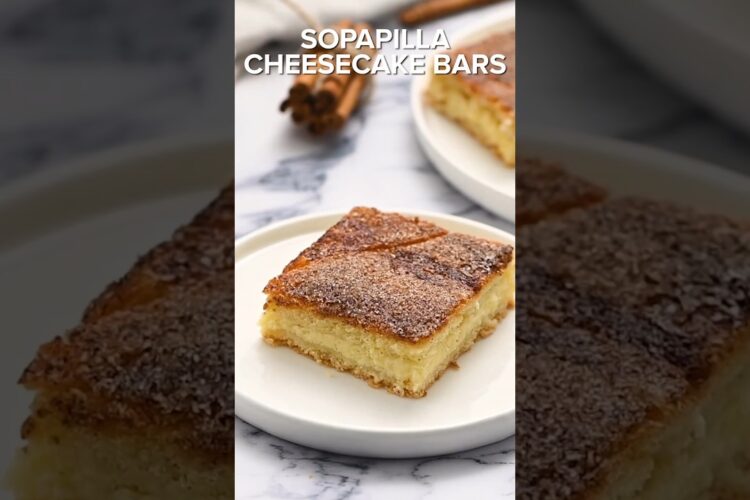
Sopapilla Cheesecake Bars: The Best Easy Dessert Recipe!
Are you ready for the ultimate dessert that combines the flavors of a classic cheesecake with the delightful sweetness of sopapillas? Introducing Sopapilla Cheesecake Bars: a treat that’s as easy to make as it is delicious! Perfectly creamy, velvety, and topped with cinnamon sugar, these bars will steal the show at any gathering. Let’s dive into this heavenly dessert that will leave everyone asking for seconds!
The Story Behind Sopapilla Cheesecake Bars
Sopapilla Cheesecake Bars are a stunning twist on traditional Mexican dessert flavors. They blend the rich, creamy texture of cheesecake with the nostalgic taste of fried sopapillas, creating an incredibly satisfying dessert that’s perfect for any occasion. Whether you’re hosting a family gathering, celebrating a birthday, or just looking for a sweet treat to enjoy on the weekend, these bars are sure to impress. They are popular for their simplicity and the irresistible appeal they bring to the table.
Ingredients for Sopapilla Cheesecake Bars
To make this easy dessert, you’ll need the following ingredients:
For the Bars:
- 2 cans refrigerated crescent roll dough
- 2 (8 oz) packages cream cheese, softened
- 1 cup granulated sugar
- 1 tsp vanilla extract
- 1/2 tsp cinnamon
For the Topping:
- 1/2 cup butter, melted
- 1/4 cup granulated sugar
- 1 tsp cinnamon
- Powdered sugar (optional, for dusting)
These simple ingredients are likely already in your pantry! The combination of cream cheese and sugar makes the filling rich and decadent, while the crescent roll dough acts as a flaky and buttery crust.
Instructions for Making Sopapilla Cheesecake Bars
Now that you have your ingredients, let’s get to the fun part: how to make Sopapilla Cheesecake Bars!
Step-by-Step Instructions
-
Preheat Your Oven: Start by preheating your oven to 350°F (175°C). This step is crucial to ensure your bars bake evenly.
-
Prepare Your Baking Dish: Grease a 9×13-inch baking dish with cooking spray or butter to make it easier to remove your dessert after it cools.
-
Layer the Dough: Roll out one can of crescent rolls into the bottom of the greased baking dish. Use your fingers to press the seams together and create an even layer.
-
Mix the Filling: In a mixing bowl, beat together the softened cream cheese, 1 cup of granulated sugar, 1 teaspoon of vanilla, and 1/2 teaspoon of cinnamon until smooth and creamy.
-
Spread the Filling: Pour the cream cheese mixture over the crescent roll layer, spreading it evenly.
-
Top with More Dough: Roll out the second can of crescent rolls and place it over the cream cheese filling, pressing the seams together.
-
Add the Topping: Drizzle the melted butter over the top layer of dough, then sprinkle a mixture of 1/4 cup granulated sugar and 1 teaspoon cinnamon on top.
-
Bake: Place in the oven and bake for 30-35 minutes, or until golden brown and puffed up.
-
Cool and Serve: Allow the bars to cool for at least 10-15 minutes before slicing into squares. Dust with powdered sugar before serving, if desired.
Tips and Variations
- Change Up the Flavor: Add a splash of lemon or almond extract to the cream cheese filling for a different flavor profile.
- Gluten-Free Option: Use gluten-free crescent roll dough for a gluten-free version of these delicious bars.
- Make It a Party: Serve these bars at parties, BBQs, or family dinners, and watch them disappear in no time!
This easy dessert recipe is sure to become a favorite among friends and family! With minimal ingredients and simple steps, you’ll be a dessert hero in no time.
Conclusion
There you have it! The best Sopapilla Cheesecake Bars are ready to be enjoyed. These bars are not only delicious but also incredibly fun to make. So grab your ingredients, gather your loved ones, and dig into this sweet treat. Try it and let us know how it turned out! Happy baking!