
Delicious No-Bake Oreo Cheesecake Recipe
Looking for a delightful dessert that will wow your guests without any fuss? Look no further! This Delicious No-Bake Oreo Cheesecake Recipe is the sweet solution you’ve been dreaming about. Rich, creamy, and packed with chocolatey goodness, this cheesecake is not only the perfect ending to any meal, but it also comes together in just a few simple steps. So grab those Oreos, and let’s dive into this easy recipe that will leave everyone asking for seconds!
A Little Backstory on Oreo Cheesecake
Oreo cheesecake has been a hit at parties and family gatherings for years. With its velvety texture and crunchy Oreo crust, it combines the best of both worlds—cheesecake lovers and cookie fans alike. This versatile dessert is perfect for birthdays, holidays, or even just a casual get-together with friends. What’s even better? You don’t need to turn on your oven! Perfect for warm weather or when you’re short on time, this no-bake dessert is sure to become a staple in your recipe collection.
Ingredients
To make the best no-bake Oreo cheesecake, you’ll need the following ingredients:
For the Crust:
- 24 Oreo cookies
- 4 tablespoons unsalted butter, melted
For the Filling:
- 16 oz cream cheese, softened
- ½ cup powdered sugar
- 1 tsp vanilla extract
- 2 cups heavy whipping cream
- 1 cup crushed Oreos (about 8 cookies)
For Topping:
- Additional Oreo cookies, crushed, for garnish
- Whipped cream (optional)
Instructions
Now that you have all your ingredients ready, let’s get started on this easy no-bake cheesecake recipe!
Step 1: Make the Oreo Crust
-
Crush the Oreos: Place the 24 Oreo cookies in a blender or food processor and blitz until you have fine crumbs. If you don’t have a blender, you can also place the cookies in a zip-top bag and crush them with a rolling pin.
-
Combine with Butter: In a bowl, mix the Oreo crumbs with 4 tablespoons of melted unsalted butter until the crumbs are evenly coated.
-
Form the Crust: Press the mixture firmly into the bottom of a 9-inch springform pan. Make sure it’s packed tightly to create a solid base for your cheesecake.
Step 2: Prepare the Filling
-
Beat the Cream Cheese: In a large bowl, beat the softened cream cheese with an electric mixer until smooth and creamy.
-
Add Sugar and Vanilla: Gradually add the powdered sugar and vanilla extract, mixing until well combined.
-
Whip the Cream: In another bowl, beat the heavy whipping cream until stiff peaks form. This adds that luscious, creamy texture to your cheesecake.
-
Fold Together: Gently fold the whipped cream into the cream cheese mixture until fully incorporated. Make sure to do this slowly to maintain the fluffiness.
-
Add Crushed Oreos: Finally, fold in 1 cup of crushed Oreos for that delightful cookie crunch in every bite.
-
Pour into Crust: Spread the filling evenly over the prepared Oreo crust and smooth the top with a spatula.
Step 3: Refrigerate
- Cover the cheesecake and chill in the refrigerator for at least 4 hours, or preferably overnight. This allows the flavors to meld and the cheesecake to set perfectly.
Tips and Variations
-
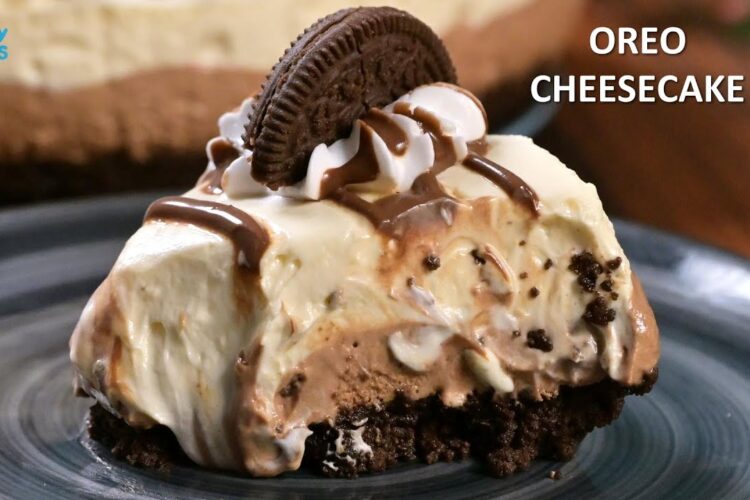
Serving Suggestions: For a fun presentation, top each slice with a dollop of whipped cream and a whole Oreo on top!
-
Add Some Flavor: Want to mix it up? Try adding a layer of chocolate ganache on top before chilling, or swirl in some peanut butter for a delicious alternative.
-
Storage Tips: This cheesecake can be stored in an airtight container in the fridge for up to 5 days, making it a great make-ahead dessert!
Conclusion
Now that you know how to make this Delicious No-Bake Oreo Cheesecake, it’s your turn to bring smiles to your dining table! With its effortless preparation and irresistible flavor, this cheesecake is bound to become a family favorite. Try it and let us know how it turned out! Don’t forget to share your photos and tag us; we can’t wait to see your creations! Happy baking!