
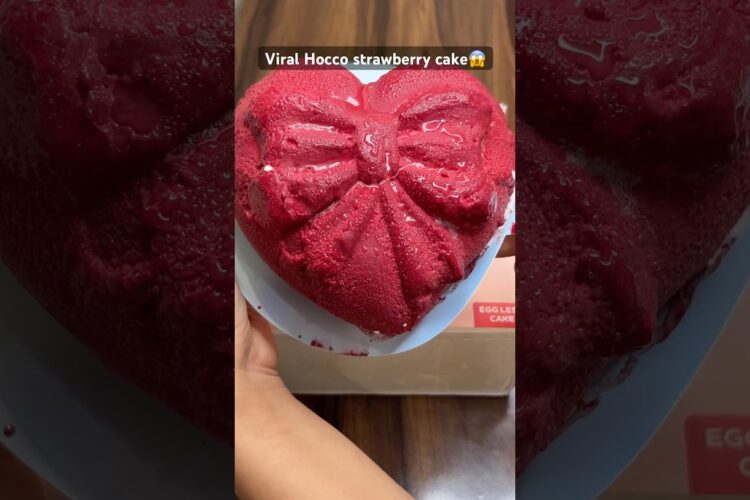
How to Make the Best Hocco Strawberry Cheesecake: A Delightful Dessert Recipe!
Hello, dessert lovers! Are you ready to treat yourself and your loved ones to a slice of heaven? Today, I’m excited to share with you how to make the best Hocco Strawberry Cheesecake—a creamy, sweet, and absolutely luscious dessert that’s perfect for any occasion! Whether you’re hosting a family gathering, celebrating a birthday, or simply indulging in something special, this easy recipe will surely steal the show. Let’s dive in!
A Slice of Happiness
Did you know that cheesecakes date back to ancient Greece? But in today’s world, its variations are endless, with the Hocco Strawberry Cheesecake being a personal favorite. This recipe combines classic cheesecake flavors with the freshness of ripe strawberries, making it a beloved summer dessert. It’s light yet satisfying, ideal for warm evenings or festive gatherings. Plus, it’s incredibly easy to make, so even novice bakers can whip it up in no time!
Ingredients for Hocco Strawberry Cheesecake
To get started, here’s what you’ll need for this easy Hocco strawberry cheesecake recipe:
For the Crust:
- 1 ½ cups graham cracker crumbs
- ½ cup unsalted butter, melted
- ¼ cup granulated sugar
For the Cheesecake Filling:
- 16 oz cream cheese (softened)
- 1 cup granulated sugar
- 1 tsp vanilla extract
- 3 large eggs
- 1 cup sour cream
For the Strawberry Topping:
- 2 cups fresh strawberries (hulled and sliced)
- ¼ cup granulated sugar
- 1 tbsp lemon juice
- 1 tbsp cornstarch (optional, for thickening)
Instructions for Making Hocco Strawberry Cheesecake
Now that you have your ingredients ready, let’s get to the fun part—baking! Here’s a step-by-step guide on how to make this delicious cheesecake recipe:
Step 1: Preheat the Oven
Preheat your oven to 325°F (163°C).
Step 2: Prepare the Crust
In a medium bowl, combine graham cracker crumbs, melted butter, and sugar. Mix until well combined, and then press the mixture into the bottom of a 9-inch springform pan. Bake for about 10 minutes or until lightly golden. Allow cooling.
Step 3: Make the Cheesecake Filling
In a large mixing bowl, beat the softened cream cheese until smooth. Gradually add the sugar and vanilla extract. Mix in eggs one at a time, followed by the sour cream. Mix until everything is well combined and creamy.
Step 4: Assemble and Bake
Pour the cheesecake filling over the cooled crust. Bake in the preheated oven for 50-60 minutes, or until the edges are set but the center has a slight jiggle. Turn off the oven and let the cheesecake cool inside for about 1 hour before transferring it to the fridge to chill for at least 4 hours or overnight.
Step 5: Make the Strawberry Topping
In a saucepan over medium heat, combine sliced strawberries, sugar, and lemon juice. Stir frequently, and cook for about 5-10 minutes until the strawberries release their juices. If you want a thicker sauce, add cornstarch mixed with a bit of water and cook until bubbly.
Step 6: Serve
Once the cheesecake is chilled, remove it from the springform pan. Top it with the fresh strawberry mixture before slicing. Enjoy your Hocco Strawberry Cheesecake!
Tips and Variations for the Perfect Cheesecake
Here are some helpful tips and fun variations to try with your strawberry cheesecake:
- Add a Twist: Try adding a swirl of melted chocolate or other fruit purees to the cheesecake filling for an added flavor dimension.
- Dairy-Free Option: Substitute the cream cheese and sour cream with their dairy-free counterparts for a vegan-friendly version.
- Flavor Enhancements: Consider incorporating lemon zest or almond extract to elevate the existing flavors.
Conclusion
There you have it—the best Hocco Strawberry Cheesecake recipe that’s sure to impress. It’s creamy, flavorful, and bursting with the taste of fresh strawberries, making it an absolute crowd-pleaser. So, what are you waiting for? Try it and let us know how it turned out! If you enjoyed this recipe, don’t forget to share your thoughts in the comments below and keep spreading the love for sweet treats! 🍰✨