
The Ultimate Triple Vanilla Cake Recipe: A Sweet Indulgence for Any Occasion
Are you ready to elevate your dessert game? If you love the classic flavors of vanilla but want to take it up a notch, this Triple Vanilla Cake recipe is calling your name! Packed with layers of decadent vanilla flavor from extract, beans, and paste, this cake is sure to impress anyone who takes a slice. Perfect for birthdays, anniversaries, or just because, this easy recipe will make your taste buds sing!
A Vanilla Dream Come True
Vanilla is often called the “queen of flavors,” and with good reason! Its rich, sweet aroma and smooth taste make it a staple in many desserts. This Triple Vanilla Cake is incredibly popular for celebrations and gatherings. It’s versatile enough for every occasion, from a charming afternoon tea to a lavish wedding. You’re guaranteed to create memorable moments when you serve this cake, so let’s dive right into how to make it!
Ingredients
-
For the Cake:
- 2 ¾ cups all-purpose flour
- 2 ½ tsp baking powder
- ½ tsp salt
- 1 cup unsalted butter, softened
- 2 cups granulated sugar
- 4 large eggs
- 1 tbsp pure vanilla extract
- 1 tbsp vanilla bean paste
- 1 cup whole milk
-
For the Vanilla Frosting:
- 1 cup unsalted butter, softened
- 4 cups powdered sugar
- 2 tbsp vanilla extract
- 2 tbsp heavy cream (or milk)
Instructions
Step 1: Preheat and Prepare
Begin by preheating your oven to 350°F (175°C). Grease and flour three 9-inch round cake pans. This will ensure that our moist cake releases easily once baked!
Step 2: Mix the Dry Ingredients
In a medium bowl, whisk together the all-purpose flour, baking powder, and salt. Set aside. This little step helps ensure your cake rises beautifully with a lovely crumb!
Step 3: Cream the Butter and Sugar
In a large mixing bowl, use a hand mixer or stand mixer to cream together the softened butter and granulated sugar until the mixture becomes light and fluffy. This usually takes about 3-4 minutes.
Step 4: Add Eggs and Flavor
Add in the eggs one at a time, blending well after each addition. Then incorporate the vanilla extract and vanilla bean paste; trust me, the aroma will be heavenly!
Step 5: Combine the Mixtures
Gradually add the dry ingredients to the wet mixture, alternating with the whole milk. Begin and end with the dry ingredients, mixing until just combined. Overmixing can result in a dense cake, which is not what we want!
Step 6: Bake to Perfection
Pour the batter evenly into the prepared cake pans and bake for 25-30 minutes, or until a toothpick inserted in the center comes out clean. Allow the cakes to cool in the pans for 10 minutes before removing them onto wire racks to cool completely.
Step 7: Prepare the Frosting
For the frosting, beat softened butter until smooth, then slowly add powdered sugar. Mix well, adding the vanilla extract and heavy cream as needed to achieve a smooth consistency.
Step 8: Assemble Your Triple Vanilla Cake
Once the cakes are cool, use your frosting between the layers, on the sides, and on top. Feel free to get creative with your frosting application—you can achieve a rustic look or go for a smooth finish, depending on your style!
Tips & Variations
-
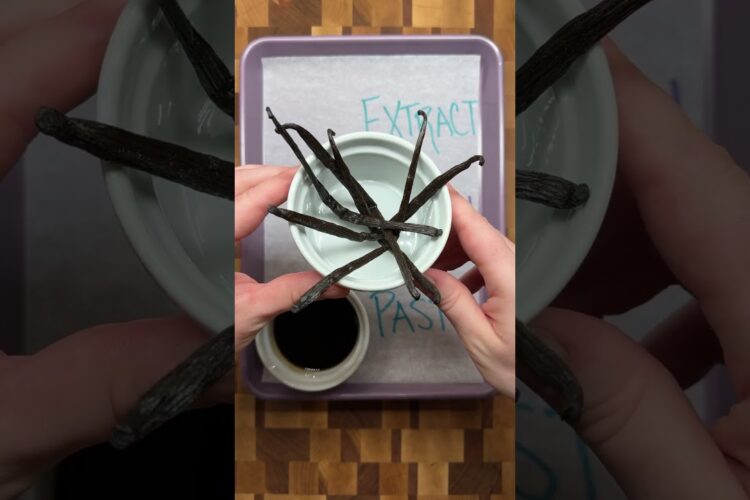
When to Use Vanilla Extract, Beans, or Paste:
- Vanilla Extract is great for baking recipes; it’s cost-effective and versatile.
- Vanilla Beans offer an authentic, rich flavor; use them for a gourmet touch!
- Vanilla Paste combines concentrate and specks from the bean, giving you the best of both worlds.
-
Make It Unique: Add a layer of raspberry jam or lemon curd between the cakes for a delicious twist!
-
Storage: This cake can be stored in an airtight container at room temperature for up to 3 days, or refrigerated for up to a week.
Closing Thoughts
There you have it, the best triple vanilla cake recipe you’ll ever need! It’s simple, delicious, and perfect for any occasion. Try it, and let us know how it turned out! We’d love to hear about your baking adventures and any unique twists you added. Happy baking!