
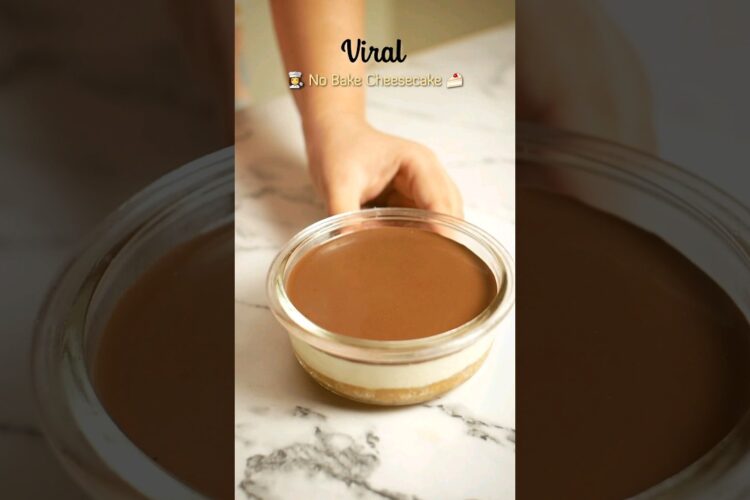
Trying Out Viral No-Bake Cheesecake: A Delicious Treat You Don’t Want to Miss! 🤌🤤
Are you looking for the ultimate dessert that will wow your guests without requiring hours of baking? Look no further! This No-Bake Cheesecake has taken the internet by storm, and for good reason. Creamy, rich, and oh-so-simple, it’s the best easy cheesecake recipe you’ll ever try! Perfect for potlucks, summer picnics, or just a cozy night in, this viral lunchbox cheesecake is sure to become a beloved favorite in your kitchen. Let’s dive in!
Why This No-Bake Cheesecake Is So Popular
This easy no-bake cheesecake recipe has gained traction on social media platforms for its convenience and deliciousness. Imagine indulging in a silky-smooth cheesecake without having to crank up the oven! You can serve it at birthday parties, holidays, or just as a sweet treat for yourself. The best part? You can customize it with your favorite toppings, making it a versatile crowd-pleaser that is always a hit!
Ingredients
To craft this delightful no-bake cheesecake, you’ll need the following ingredients:
For the Crust:
- 1 ½ cups graham cracker crumbs
- ½ cup unsalted butter, melted
- ¼ cup sugar
- A pinch of salt
For the Filling:
- 16 oz cream cheese, softened
- 1 cup powdered sugar
- 1 tsp vanilla extract
- 1 cup heavy whipping cream (like the ones used for whipped topping)
- 2 tbsp lemon juice (optional for a slight tang)
For the Topping:
- Fresh berries, chocolate sauce, or caramel drizzle (your choice!)
Instructions
Making this no-bake cheesecake is a breeze! Follow these simple instructions:
-
Prepare the Crust:
- In a mixing bowl, combine graham cracker crumbs, melted butter, sugar, and salt. Mix until well combined.
- Press the crumb mixture firmly into the bottom of a 9-inch springform pan. Use a flat object (like the bottom of a glass) to help press down evenly.
- Place the crust in the refrigerator to chill while you prepare the filling.
-
Make the Cheesecake Filling:
- In a large bowl, beat the softened cream cheese until smooth and creamy using a hand mixer or stand mixer.
- Gradually add the powdered sugar and vanilla extract. Mix until fully combined.
- In another bowl, whip the heavy cream until stiff peaks form. Gently fold the whipped cream into the cream cheese mixture until combined but still fluffy. If you want a tangy flavor, fold in the lemon juice as well.
-
Combine and Chill:
- Pour the cheesecake filling over the chilled crust, smoothing the top with a spatula.
- Cover with plastic wrap and refrigerate for at least 4-6 hours, or better yet, overnight, to let it set.
-
Serve:
- Once set, release the sides of the springform pan. Top with fresh berries or your favorite toppings and slice into pieces. Enjoy!
Tips & Variations
-
Customize Your Toppings:🥭 Consider adding seasonal fruits, crushed cookies, or even various flavored sauces to the top of your cheesecake. Seasonal variations can truly elevate this easy recipe!
-
Make it Chocolatey:🍫 For chocoholics, consider folding melted chocolate into the cheesecake filling or using chocolate cookies for the crust.
-
Add Some Zest:🍋 Feel free to throw in some lemon zest or orange zest to your filling for an extra zing.
-
Vegan Version:🌱 You can substitute cream cheese with vegan alternatives and use coconut cream instead of heavy cream for a vegan-friendly treat.
-
Storage Tips: This no-bake cheesecake can be stored in an airtight container in the fridge for up to a week. Just be sure to enjoy those delectable slices before they disappear!
Final Thoughts
Now that you know how to make this viral no-bake cheesecake, it’s time to put your own spin on it! Whether you’re entertaining guests or simply indulging in a treat after a long week, this recipe will not disappoint. So, gather your ingredients and give it a try.
Let us know how it turned out in the comments below, and happy baking! 🎉🍰