
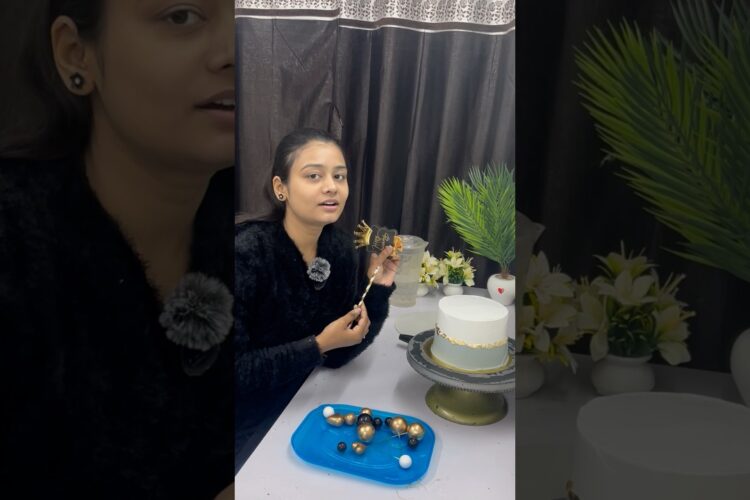
Easy Chocolate Lava Cake: The Best Dessert Recipe for Any Occasion
If you’re searching for a show-stopping dessert that combines simplicity with indulgence, look no further than this easy Chocolate Lava Cake recipe! This rich and gooey treat is perfect for celebrating special occasions, like birthdays, anniversaries, or even a cozy night in. Trust us, once you master how to make this delightful dessert, you’ll have guests begging for seconds!
The Allure of Chocolate Lava Cake
Chocolate Lava Cake, also known as Molten Chocolate Cake, has become a beloved classic in many households. Its origins date back to the early 1980s when renowned chef Jean-Georges Vongerichten first crafted this irresistible dessert. Since then, it has become a staple on restaurant menus and a favorite for home bakers. The beauty of it lies in the perfectly cooked cake exterior that reveals a warm, flowing chocolate center when cut. The decadence of warm chocolate paired with vanilla ice cream creates a heavenly dessert experience that’s difficult to resist!
Ingredients for Easy Chocolate Lava Cake
To embark on this scrumptious journey, you will need the following ingredients:
H3: Basic Ingredients
- 1/2 cup (1 stick) unsalted butter – For that rich texture and flavor.
- 1 cup semi-sweet chocolate chips – The star of the show!
- 2 large eggs – Essential for binding all the ingredients together.
- 2 large egg yolks – For extra richness.
- 1/4 cup granulated sugar – Sweetens the mix without overpowering the chocolate.
- 2 tablespoons all-purpose flour – Adds structure to the cake.
- A pinch of salt – Enhances overall flavor.
H3: Optional Toppings
- Powdered sugar – For a dusting effect.
- Vanilla ice cream – A classic pairing that elevates the dessert.
Instructions: How to Make Chocolate Lava Cake
Now that you have your ingredients ready, let’s dive into the simple steps to create the best chocolate lava cake!
H3: Step-by-Step Directions
-
Preheat Your Oven: Begin by preheating your oven to 425°F (220°C) and grease four ramekins with butter and a sprinkle of flour. This ensures easy removal.
-
Melt Butter and Chocolate: In a medium microwave-safe bowl, combine the butter and chocolate chips. Microwave in 30-second intervals, stirring between each, until completely melted and smooth.
-
Whisk Eggs and Sugar: In another bowl, whisk together the eggs, egg yolks, and granulated sugar until the mixture is light and frothy.
-
Combine Ingredients: Slowly pour the melted chocolate mixture into the egg mixture, stirring continuously. Add flour and salt, mixing gently until just combined.
-
Pour and Bake: Divide the batter evenly among your prepared ramekins. Bake for 12-14 minutes, or until the edges of the cakes are firm but the centers are soft.
-
Rest and Serve: Allow the cakes to cool for 1 minute before carefully inverting them onto dessert plates. Dust with powdered sugar and serve with a scoop of vanilla ice cream, if desired.
Tips and Variations
H3: Helpful Tips
- Timing is Key: Watch the baking time closely! Overbaking will leave you with a cake that’s fully cooked through, instead of the desired molten center.
- Chill the Batter: For an even gooier center, chilling the batter in the ramekins for about 30 minutes before baking can help maintain that molten texture.
H3: Fun Variations
- Flavored Lava Cake: Experiment with different types of chocolate, like dark or white chocolate, for unique flavor profiles.
- Add Ins: Try adding berries, caramel, or nuts inside the molten center for an exciting twist.
Wrapping Up: Dive Into Chocolate Bliss!
This easy Chocolate Lava Cake is perfect for impressing guests or enjoying a cozy evening at home. Once you try this simple yet elegant dessert, you will want to make it again and again. Don’t forget to serve it fresh out of the oven, ideally alongside some vanilla ice cream for the ultimate indulgence!
So, what are you waiting for? Try this easy recipe and let us know how it turned out in the comments! Happy baking!