
The Best Piña Colada Tres Leches Cake | A Must Try!!!
Are you ready to take your dessert game to the next level? Today, we’re diving into the tropical flavors of the Best Piña Colada Tres Leches Cake! This delectable treat combines the classic richness of a tres leches cake with the refreshing, fruity notes of a piña colada. Imagine indulging in a moist, creamy cake that tastes like a vacation with every bite. Whether you’re planning a summer gathering or just looking to satisfy your sweet tooth, this easy recipe will wow your friends and family. So, let’s get started!
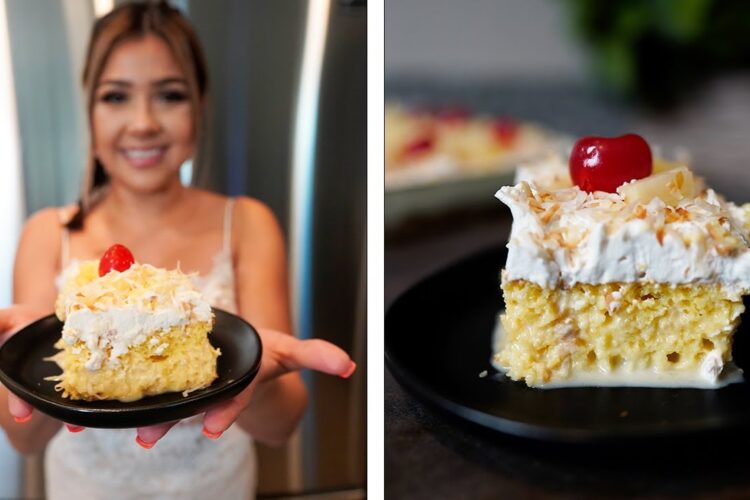
A Slice of Paradise
The origin of tres leches cake is as intriguing as its taste. Traditionally a Mexican dessert, this cake is soaked in three types of milk, creating a delightful texture that keeps you coming back for more. Now, add in the brightness of pineapple and the creaminess of coconut, and you’ve got a treat that’s perfect for any occasion. Whether you’re celebrating a birthday, hosting a barbecue, or simply enjoying a sunny afternoon, this cake is sure to be a crowd-pleaser!
Ingredients
When crafting the Best Piña Colada Tres Leches Cake, you’ll need the following ingredients:
For the Cake
- 1 cup all-purpose flour
- 1 teaspoon baking powder
- 1/2 teaspoon salt
- 1/2 cup unsalted butter, softened
- 1 cup granulated sugar
- 3 large eggs
- 1 teaspoon vanilla extract
- 1/2 cup milk
For the Tres Leches Mixture
- 1 cup sweetened condensed milk
- 1/2 cup evaporated milk
- 1/2 cup coconut milk
- 1/2 cup pineapple juice
For the Whipped Topping
- 1 cup heavy whipping cream
- 1/4 cup powdered sugar
- 1/2 teaspoon vanilla extract
- Pineapple chunks and toasted coconut for garnish
Instructions
Here’s how to make the Best Piña Colada Tres Leches Cake step by step:
Step 1: Preheat and Prepare
- Preheat your oven to 350°F (175°C).
- Grease and flour a 9×13-inch baking dish.
Step 2: Make the Cake Batter
- In a mixing bowl, whisk together the flour, baking powder, and salt.
- In another bowl, beat the softened butter and granulated sugar until light and fluffy.
- Add the eggs one at a time, mixing well after each addition. Stir in the vanilla extract.
- Gradually add the flour mixture and milk, mixing until just combined.
Step 3: Bake the Cake
- Pour the batter into your prepared baking dish.
- Bake for 25-30 minutes or until a toothpick inserted in the center comes out clean.
- Allow the cake to cool completely in the pan.
Step 4: Create the Tres Leches Mixture
- In a bowl, whisk together the sweetened condensed milk, evaporated milk, coconut milk, and pineapple juice.
- Once the cake is cool, poke holes all over the surface using a fork or skewer.
- Pour the tres leches mixture evenly over the cake, allowing it to soak in. Refrigerate for at least 4 hours, preferably overnight.
Step 5: Add Whipped Topping
- In a clean bowl, beat the heavy whipping cream, powdered sugar, and vanilla extract until soft peaks form.
- Spread the whipped cream over the soaked cake and top with pineapple chunks and toasted coconut.
Tips and Variations
- For Extra Flavor: Consider adding a splash of rum to the tres leches mixture for that authentic piña colada kick.
- Make it Gluten-Free: Substitute all-purpose flour with a 1:1 gluten-free flour blend.
- Layer it Up: If you want to impress even more, bake the cake in layers and alternate the tres leches soaking for a more elegant presentation.
Give It a Try!
Now that you have the scoop on making this easy piña colada tres leches cake, it’s time to give it a go! Trust us, this moist and flavorful cake will quickly become your go-to dessert recipe. Perfect for summer barbecues, birthdays, or just a grab-and-go treat, it’s packed with deliciousness.
So get your apron on, gather your ingredients, and whip up this tropical delight. Try it and let us know how it turned out in the comments below! Happy baking! 🍍🍰