
Indulge in a Delightful Sanrio Ice Cream Cake: A Sweet Treat for All
If you’re on the hunt for the best ice cream cake recipe that’s both fun and delicious, look no further! The Sanrio Ice Cream Cake is a delightful, layer-filled dessert featuring characters like Hello Kitty and friends. Perfect for summer parties, birthday celebrations, or just a sweet treat on a sunny day, this easy recipe will make you the star of any occasion!
A Sweet Story Behind Sanrio Ice Cream Cakes
Sanrio characters have stolen the hearts of many, and what better way to celebrate them than with a delectable ice cream cake? This easy recipe has grown in popularity because it combines two beloved treats: cake and ice cream. Ideal for both kids and adults, it brings a splash of color and a wave of nostalgia to any gathering. Personally, I love making this cake for birthday parties because it not only tastes delicious but also serves as an interactive centerpiece that invites guests to dig in!
Ingredients
To craft this charming Sanrio Ice Cream Cake, gather the following ingredients:
Cake Layer:
- 1 box of chocolate cake mix (plus required ingredients)
- 1 cup of whipped cream (for topping)
Ice Cream Layer:
- 2 pints of your favorite ice cream (choose vibrant colors like vanilla, strawberry, and mint)
Decorations:
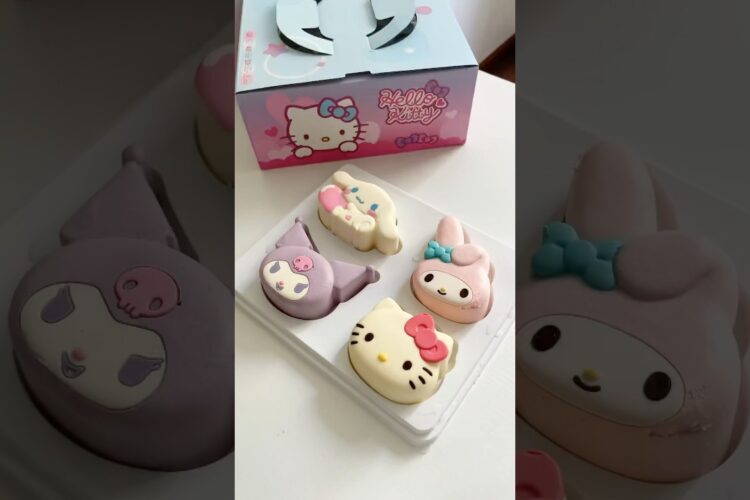
- Sanrio character figurines or edible images (like Hello Kitty or My Melody)
- Sprinkles for topping
- Chocolate sauce or fruit syrup for a drizzle (optional)
Instructions
Creating this easy Sanrio Ice Cream Cake is simple! Just follow these instructions:
-
Bake the Cake:
- Preheat your oven according to the cake mix instructions.
- Prepare the chocolate cake mix and pour it into a round cake pan.
- Bake according to package directions. Once baked, let it cool completely.
-
Layer the Ice Cream:
- Soften the ice cream for about 10 minutes to make it easier to layer.
- Once the cake has cooled, slice it in half to create two layers.
- Place the bottom layer of the cake back in the pan and spread a layer of your first choice of ice cream evenly on top of it.
- Add the second layer of cake on top of the ice cream layer and gently press down.
-
Add More Ice Cream:
- Spread the second pint of ice cream on top of the second cake layer.
- Smooth out the top with a spatula for a polished look.
-
Freeze:
- Cover the entire cake with plastic wrap and freeze for at least 4 hours, or until solid.
-
Decorate:
- After freezing, remove the cake from the pan and transfer to a cake stand.
- Decorate with whipped cream, Sanrio character decorations, and sprinkles.
- Drizzle with chocolate sauce or fruit syrup for an extra touch of sweetness!
Tips/Variations
To make this Sanrio Ice Cream Cake even more delightful, here are a few tips and variations:
- Flavors Galore: Experiment with different ice cream flavors like cookies and cream, chocolate chip, or rainbow sherbet for a vibrant twist.
- Custom Cake: Use a different cake flavor, such as vanilla or red velvet, to change up the taste.
- Character Themes: Get creative with your decorations! You can theme it based on the specific character or use multiple characters for more fun.
- Personalized Messages: Write a sweet message or birthday greeting on top using icing for a personal touch.
This Sanrio Ice Cream Cake truly is the best ice cream cake recipe for any occasion! Its combination of rich cake, creamy ice cream, and delightful decorations makes it a standout dessert that will leave everyone smiling.
So what are you waiting for? Dive into this easy recipe and create your version of this whimsical treat! Try it and let us know how it turned out—you might just inspire someone else to whip up their own lovely cake! Happy baking!