
Here’s Why Tuna Says DO NOT DRAIN!!
When it comes to easy, healthy meals, canned tuna is a powerhouse! Whether you’re whipping up a quick salad or a comforting casserole, canned tuna adds protein, flavor, and convenience to any dish. But have you noticed that some cans say, “DO NOT DRAIN”? Understanding why can elevate your cooking, so let’s dive into this tuna conundrum.
A Quick Tip About Canned Tuna
Canned tuna is not just versatile; it’s also packed with nutrients. The oil or water that it’s packed in contains a wealth of flavors and healthy fats. Many people drain it without considering that this liquid can enhance the taste and texture of your dishes. Whether it’s for a light lunch or a hearty dinner, keeping that liquid can make your meals irresistibly delicious!
Ingredients
So, how to make the best tuna salad? Here’s a list of simple ingredients you’ll need to create a tasty and satisfying easy tuna salad recipe:
- 2 cans of tuna (preferably packed in olive oil or spring water)
- 1/4 cup mayonnaise (or Greek yogurt for a healthier option)
- 1 tablespoon Dijon mustard
- 1/4 cup finely chopped red onion
- 1/4 cup chopped celery
- 1/4 cup sweet pickle relish (optional for a tangy twist)
- Salt and pepper to taste
- 1 tablespoon lemon juice (freshly squeezed for the best flavor)
- 2 tablespoons chopped fresh parsley (optional, for garnish)
Instructions
Now, let’s get started with these easy steps to make this fantastic tuna salad recipe:
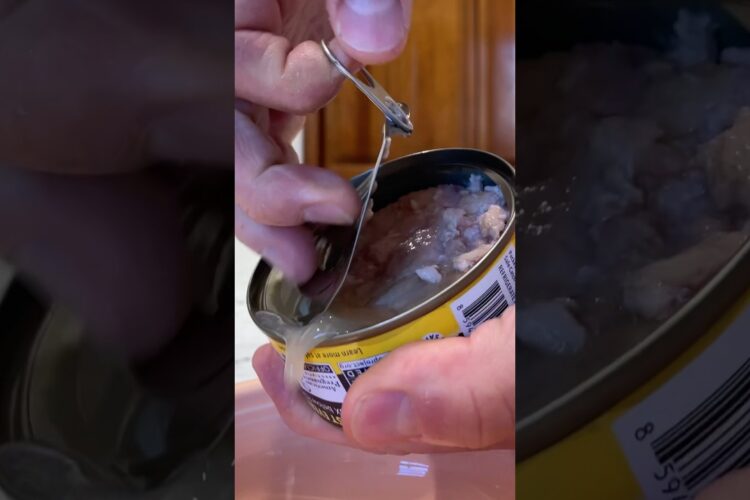
Step 1: Drain (or Don’t!) the Tuna
Open the cans of tuna. If you prefer, you can retain some liquid for added flavor. If you’re opting for a lighter dish, feel free to drain it fully.
Step 2: Combine Ingredients
In a medium-sized mixing bowl, add the tuna (with or without the liquid), mayonnaise, Dijon mustard, red onion, celery, relish (if using), and lemon juice.
Step 3: Mix Well
Using a fork, gently combine all the ingredients until well mixed. Be careful not to mash the tuna too much; you want to retain a bit of texture!
Step 4: Season
Sprinkle in salt and pepper to taste, and mix again to blend the flavors.
Step 5: Chill & Serve
To let the flavors meld beautifully, cover the bowl and refrigerate for at least 30 minutes. When you’re ready to serve, garnish with fresh parsley for a pop of color!
Tips & Variations
-
Add Vegetables: Want to boost your nutrition? Add in diced bell peppers, carrots, or even corn for extra crunch.
-
Spices: Try incorporating spices like paprika or cayenne for a slight kick.
-
Serving Suggestions: Serve your tuna salad in lettuce wraps, on whole-grain bread, or even on top of mixed greens for a fresh salad.
-
Storage: If you have leftovers, store them in an airtight container in the fridge for up to three days.
Why Not to Drain?
Keeping some liquid can enhance the salad’s creaminess and add depth to the flavor. Plus, those natural oils are beneficial for heart health. So, the next time you make an easy tuna salad, consider skipping the draining step for a tastier result!
Now that you know how to make this delightful best tuna salad recipe, it’s time to get cooking! With just a few easy ingredients and steps, you can whip up a dish that’s sure to please everyone at the table.
Try it and let us know how it turned out! What variations did you try? We’re eager to hear your thoughts!